
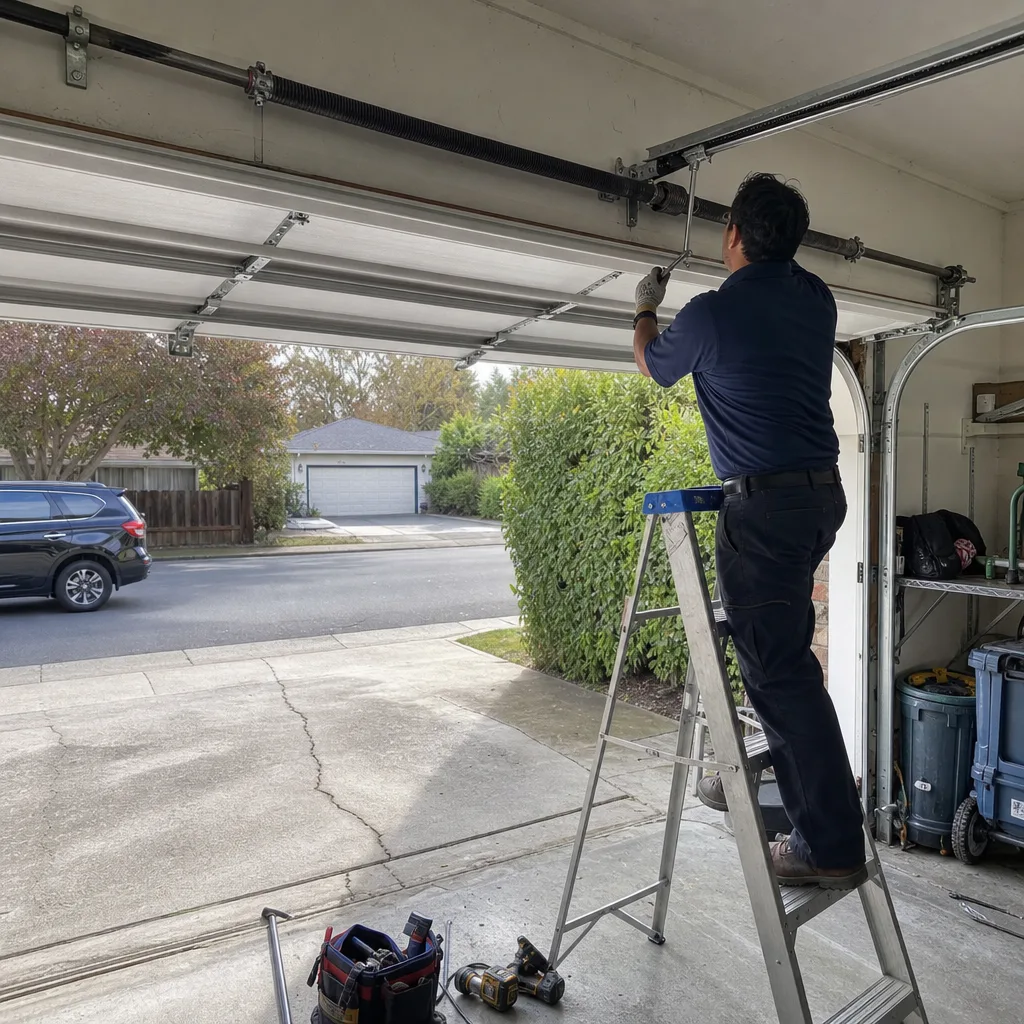
Last updated October 16, 2026
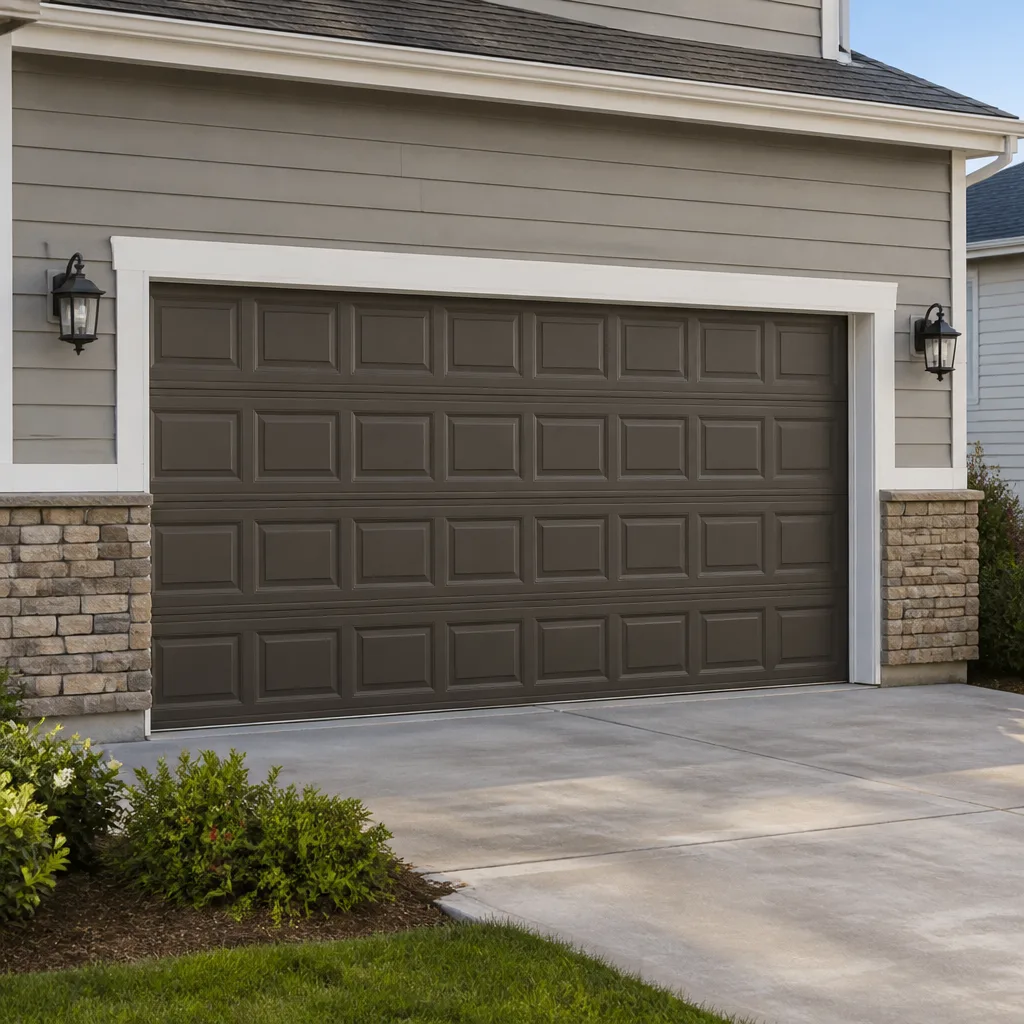 Raised-panel steel
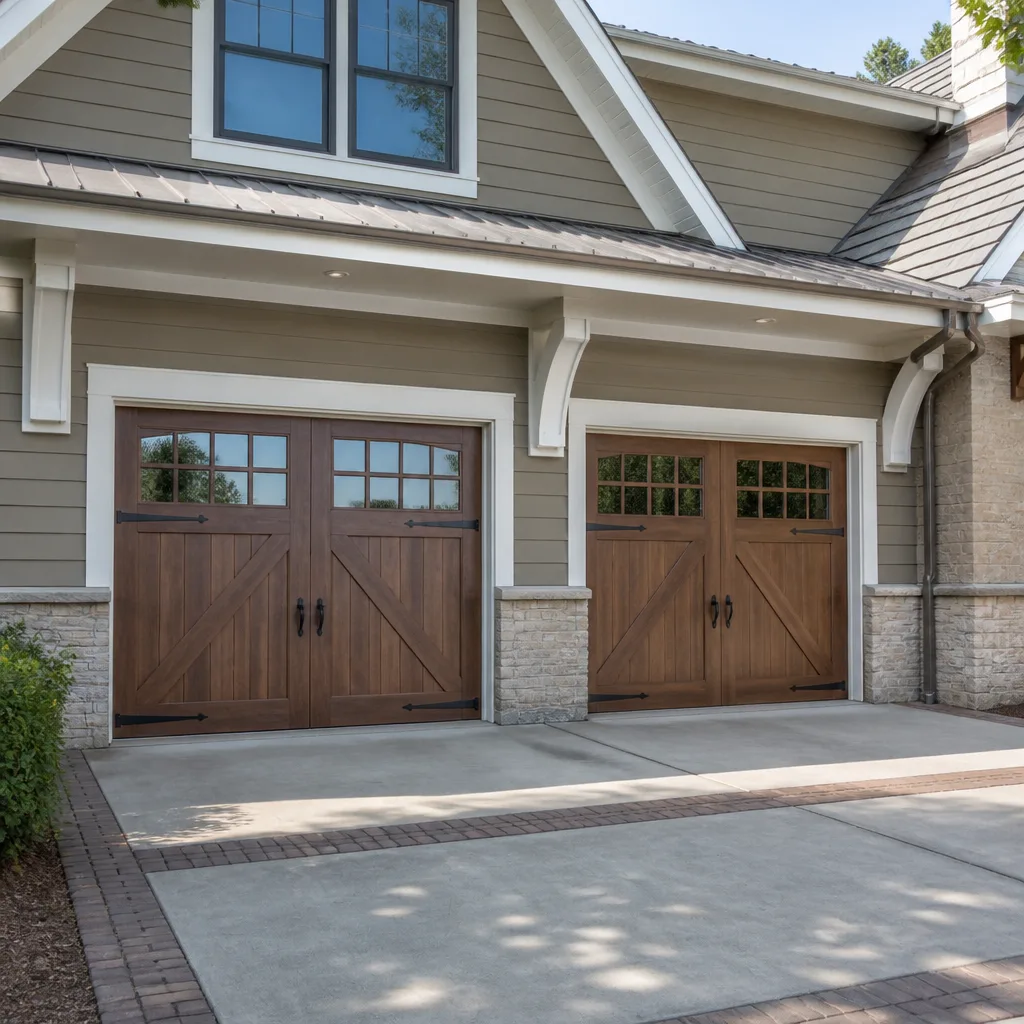 Carriage house
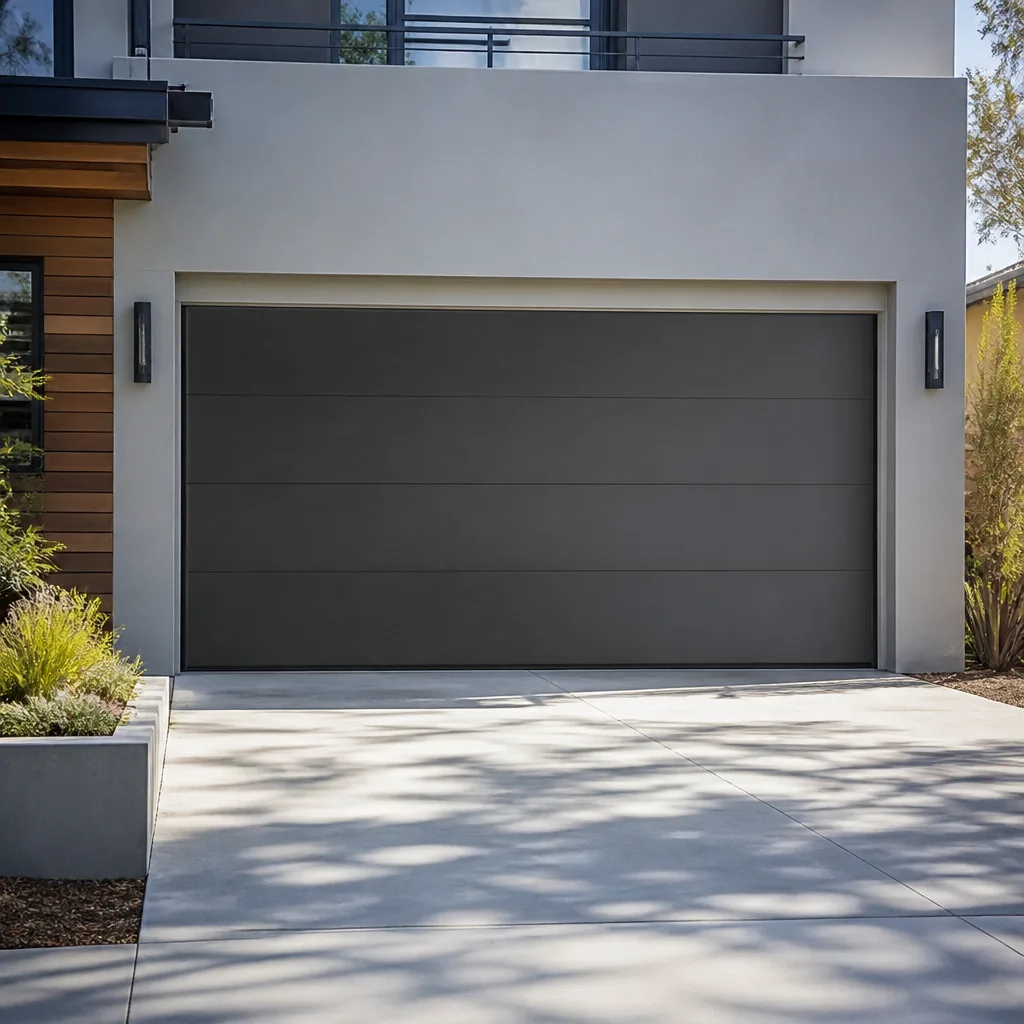 Modern flush
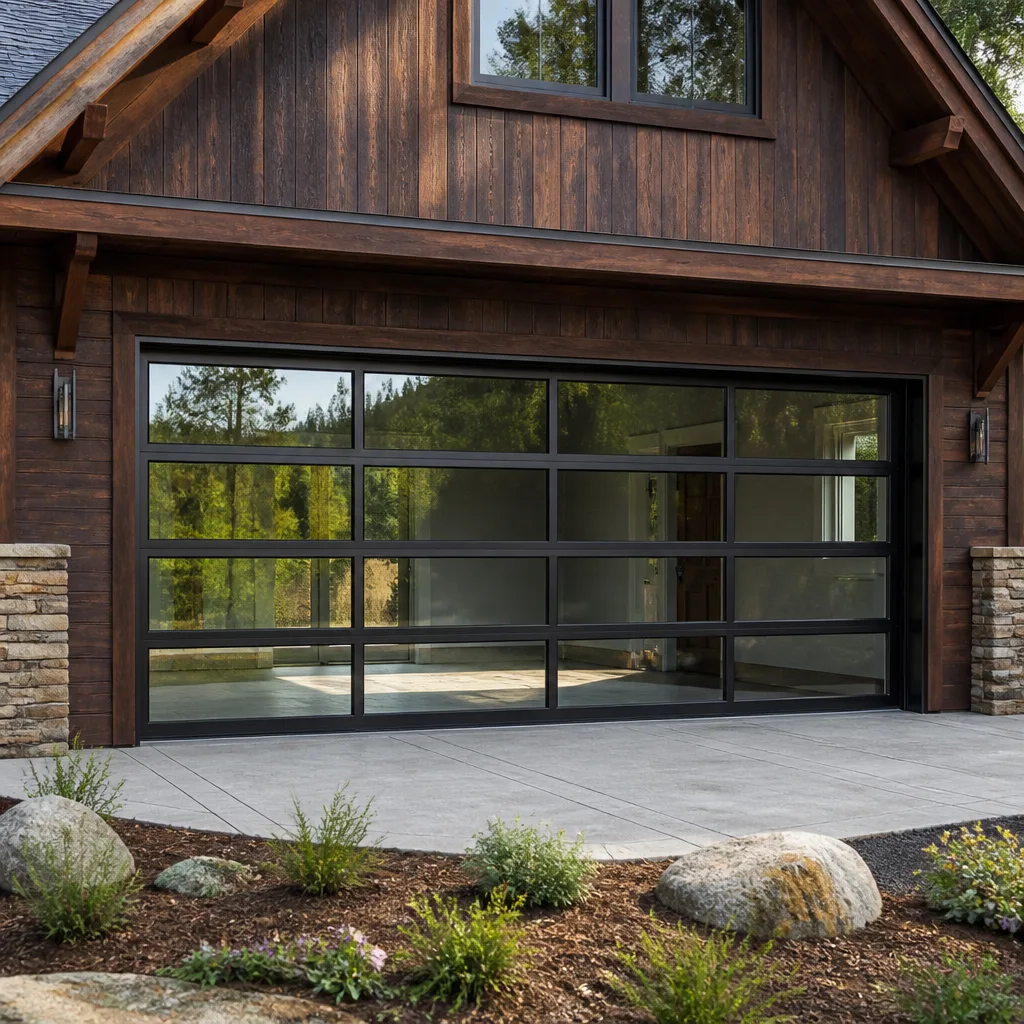 Full-view glass
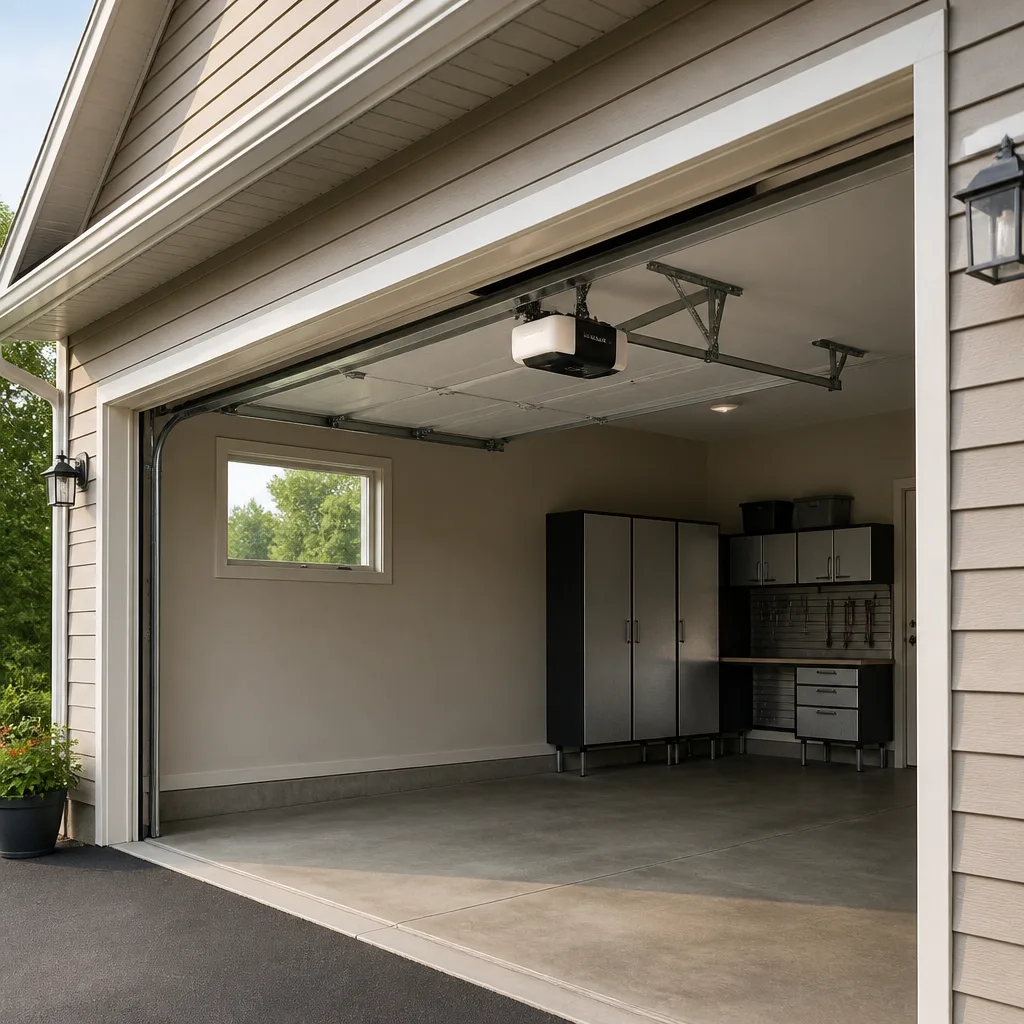 LiftMaster openers
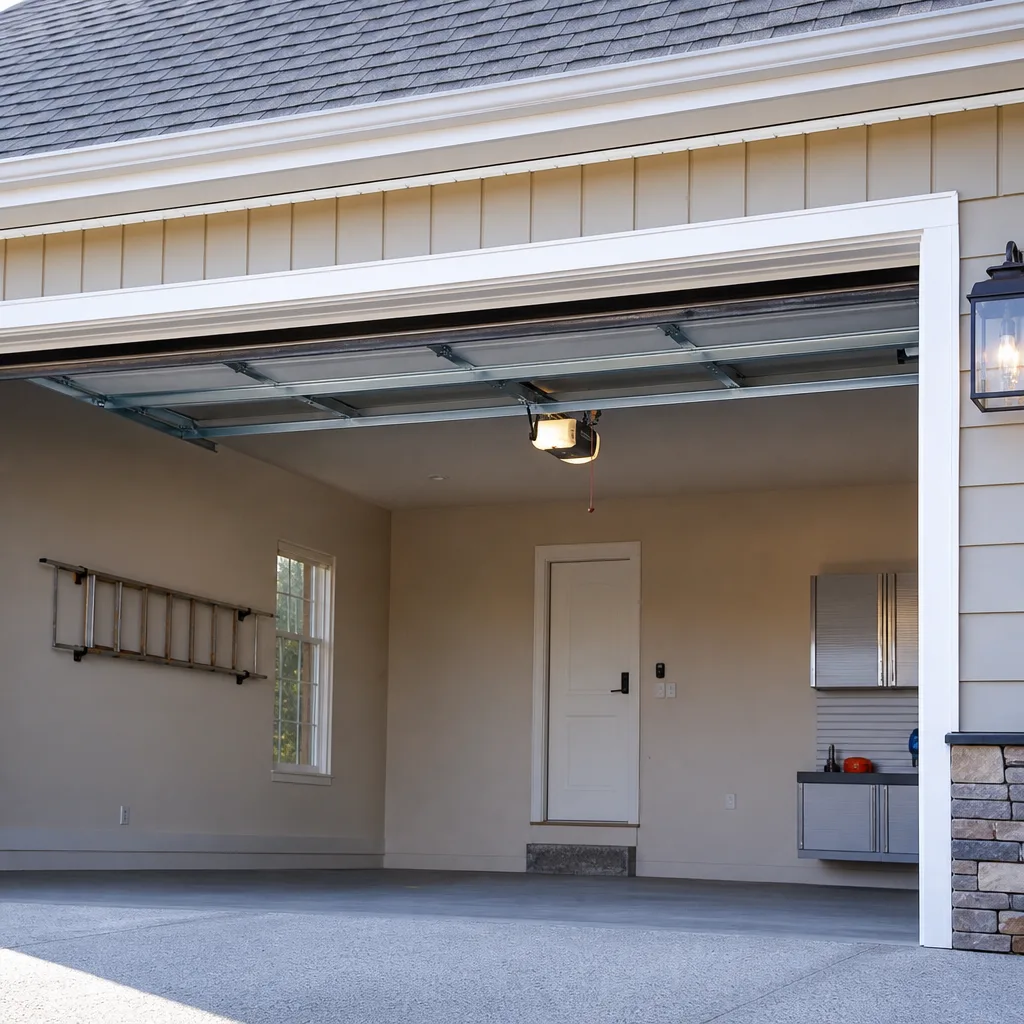 Chamberlain openers
Full 25-point door and opener safety check with every visit - springs, cables, rollers, tracks, and your LiftMaster or Chamberlain opener included
You get a price before we start. It does not change when the truck arrives.
Get your free estimateSeasonal Garage Door Care for San Jose: Year-Round Homeowner’s Guide
San Jose averages only about 15 inches of rain a year, so most homeowners figure weatherproofing the garage door is somebody else’s problem. That assumption costs people real money. The actual threat here isn’t rainfall – it’s the persistent marine layer humidity that rolls in from October through March, the 30-degree temperature swings between Almaden mornings and Evergreen afternoons, and the dry heat that quietly bakes opener electronics all summer. This guide maps San Jose’s four real climate phases to specific maintenance actions you can complete in about ten minutes per quarter, without specialized tools or a service call. For a deeper dive, see The Complete Guide to Garage Door in San Jose.
Styles & brands we work with
Quick Answer
Seasonal garage door maintenance in San Jose comes down to four quarterly tasks: lubricate moving parts in spring and fall, tighten hardware after summer’s dry heat, check weatherstripping and seal compression before the marine layer arrives in October, and wipe down and inspect tracks during the mild wet season. Most homeowners can handle this in under an hour total per year, and the payoff is a door that lasts 15 to 20 years instead of 8 to 10. If you’re weighing whether to DIY or hire help, read our DIY vs Professional Garage Door: The San Jose Homeowner’s Decision Guide.
Table of Contents
- Why San Jose’s Climate Is Harder on Garage Doors Than It Looks
- Summer Dry Heat (June – September): Steel Expansion, Opener Drift, and Lubricant Breakdown
- Marine Layer Onset (October – November): The Humidity Window That Corrodes Springs
- The Mild Wet Season (December – February): Seal Checks and Track Cleaning
- The Warming Transition (March – May): Post-Rain Inspection and Pre-Heat Prep
- The 10-Minute Quarterly Walk-Around: A Tool-Free Routine
- Common Mistakes to Avoid
- When to Call a Professional
- Frequently Asked Questions
- The Bottom Line
Why San Jose’s Climate Is Harder on Garage Doors Than It Looks
San Jose sits in a rain shadow between the Santa Cruz Mountains and the Diablo Range, which means the city gets roughly a third of the rainfall that San Francisco sees. But the same geography that keeps us dry also traps marine air. From late October through early spring, a persistent marine layer settles into the valley floor at night and burns off slowly in the morning. That humidity lingers inside uninsulated garages for hours, condensing on cold metal components: springs, cables, hinges, track brackets, and the opener rail.
Then there’s the temperature differential. Inland San Jose neighborhoods – Evergreen, Silver Creek, parts of the East Foothills – routinely see 25 to 30 degree swings between overnight lows and mid-afternoon highs, even in summer. Steel door panels expand measurably under direct afternoon sun; we’re talking a 16-foot-wide door gaining an eighth of an inch across its width on a hot day in Willow Glen. That expansion and contraction, repeated daily for years, works hardware loose and compresses seals unevenly. It’s why two identical doors installed the same week can behave differently by year three: one faces west and bakes all afternoon, the other faces north and never gets direct sun.
The smart way to care for a garage door in San Jose isn’t to follow a generic national maintenance calendar. It’s to align your work with the city’s actual climate rhythm: dry heat in summer, marine layer in fall, mild rain in winter, and a warm-up in spring. Each phase stresses the door differently, and each has a specific, short maintenance response.
Summer Dry Heat (June – September): Steel Expansion, Opener Drift, and Lubricant Breakdown
San Jose summers are dry, with daytime highs from June through September regularly exceeding 85 degrees in the valley and pushing higher in Silver Creek and the East Hills. For a garage door, that heat does three specific things.
First, steel panels expand. A dark-painted sectional door facing south or west absorbs solar heat and can get too hot to touch comfortably by 3 p.m. The metal expands, which compresses the weatherstripping along the bottom and the side jambs. You may notice the door rubs slightly when it’s hot but moves fine in the morning. That rubbing is a signal the seals are under compression and the track spacing may need a few millimeters of adjustment. Left alone, the friction accelerates seal wear and adds strain to the opener.
Second, opener limit switches drift. This is the one we get the most calls about in August. The limit switch is the component that tells the opener how far down to travel before it stops and reverses. In sustained heat, the plastic gears and cams inside the opener expand slightly and can shift the physical position of the limit screw on entry-level models, especially older Craftsman and Chamberlain units. The symptom homeowners notice: the door closes all the way, then immediately reverses and opens again, or it stops an inch shy of the floor. Before calling for opener repair, try resetting the travel limits per the manufacturer’s procedure – on most LiftMaster and Chamberlain models, that’s a small set of buttons on the motor unit. If the problem recurs within a week, the limit assembly itself is likely worn and needs service.
Third, lubricant thins and runs off. White lithium grease and silicone sprays rated for garage doors work fine in San Jose’s summer heat, but cheaper multi-purpose greases break down above 90 degrees. They liquefy, drip onto the door face, and leave the hinges and rollers running dry by September. Use a garage-door-specific lubricant – we recommend a light silicone spray on rollers and a spray lithium grease on hinges and springs – and apply it three times a year: March, July, and November.
Summer maintenance checklist
- Open and close the door at 3 p.m. on a hot day. Note any rubbing, sticking, or opener reversal.
- Check the bottom seal for compression marks – a squashed or torn lip means it’s time for a replacement.
- Run the opener with the door disconnected (pull the red release cord) to feel for smooth travel. Resistance means a balance or track issue.
- Reapply lubricant to hinges, rollers, and springs if the last application was more than three months ago.
- Test the auto-reverse safety sensors: place a roll of paper towels on the floor under the door and close it. The door should reverse before touching it.
Marine Layer Onset (October – November): The Humidity Window That Corrodes Springs
This is the most overlooked season on the San Jose garage door calendar. Sometime between mid-October and early November, the first sustained marine layer settles in. Overnight humidity climbs from summer’s 35 to 45 percent up to 80 percent or more. Metal surfaces in uninsulated garages drop below the dew point and collect condensation, often for six to ten hours at a stretch. That moisture does not bead up and roll off a galvanized torsion spring – it sits in the microscopic pores of the coil’s surface finish and begins oxidizing whatever it reaches.
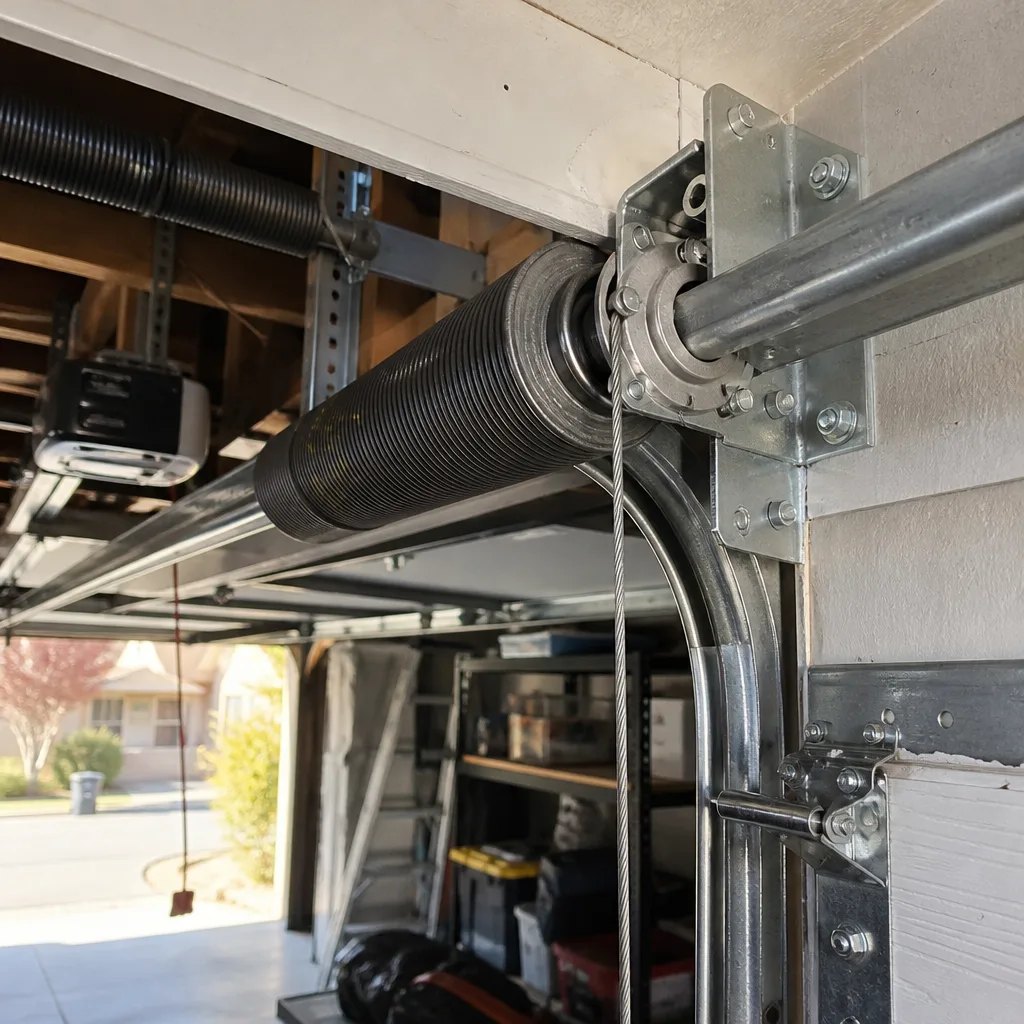
A torsion spring – the heavy coil mounted horizontally above the door that handles most of the lifting weight – is typically made of oil-tempered steel with a thin galvanized or powder coating. That coating is effective against rain but far less so against sustained condensation. Here’s what early corrosion looks like: a fine, even bloom of orange-brown dust across the coil surface, especially in the gaps between individual coils. At this stage the spring is functionally fine. We regularly see this on springs in Campbell and West San Jose garages that sit within a few miles of the bay influence. Wipe it down with a dry rag and apply a light coat of spray lithium grease; that’s usually enough to arrest the progress.
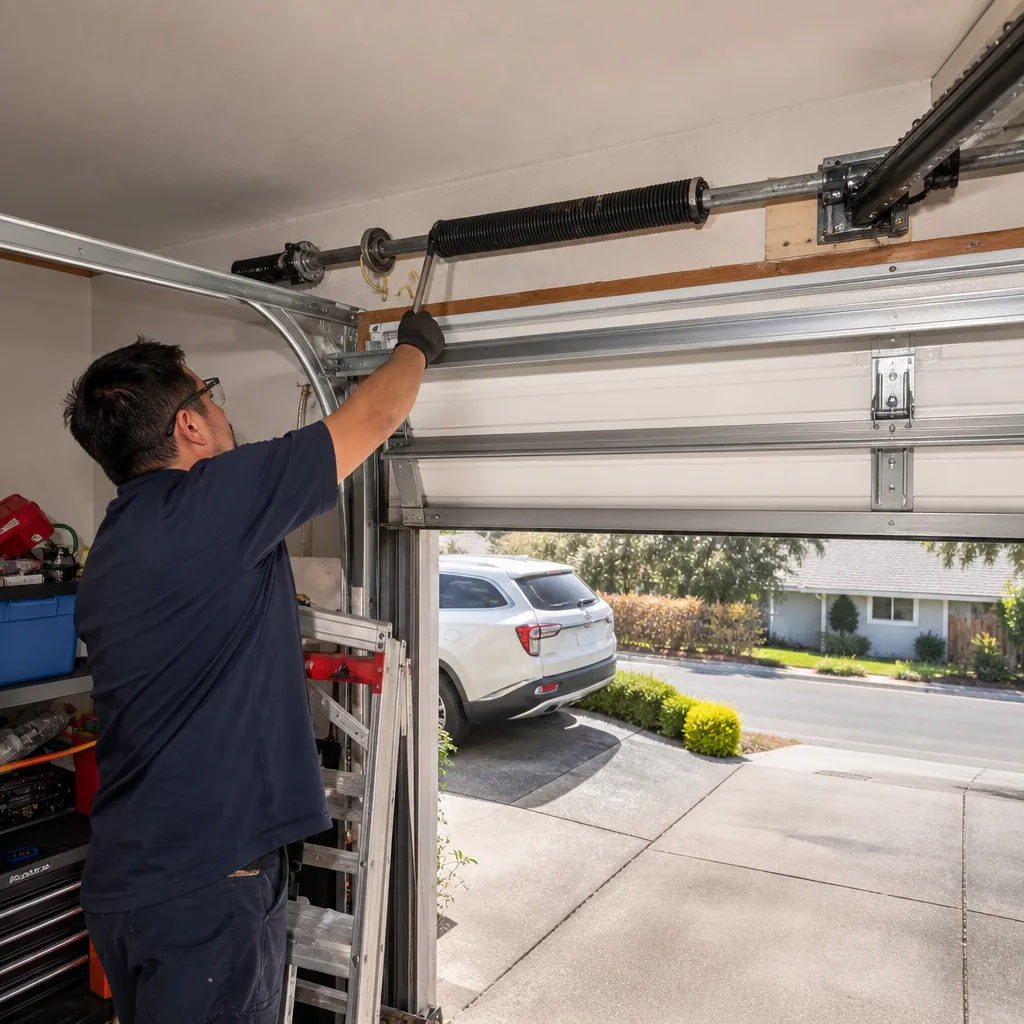
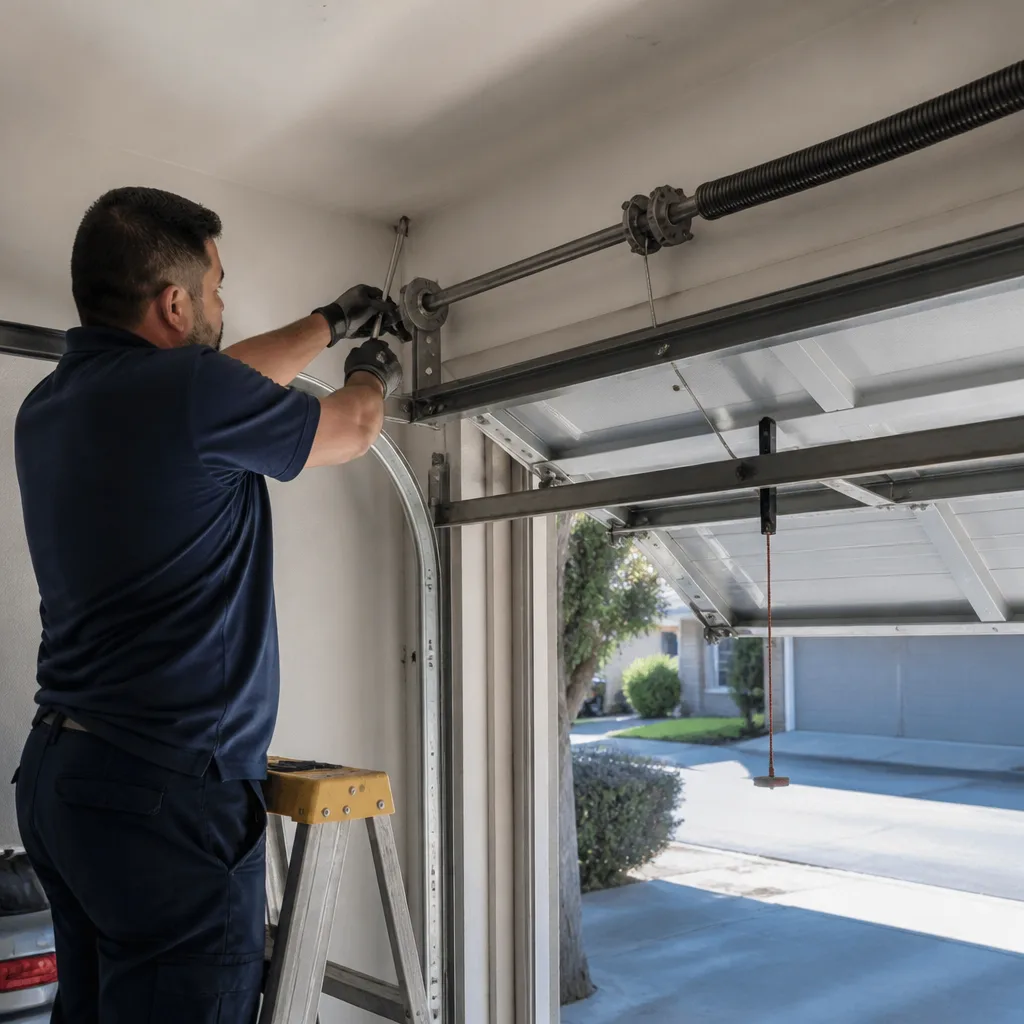
Here’s what structural risk looks like: pitting. When the surface texture stops feeling smooth and starts feeling like fine-grit sandpaper, or when you see small craters rather than surface dust, the spring is actively losing metal. A pitted torsion spring can snap without warning, and a snapping spring releases several hundred pounds of stored tension in a fraction of a second. If you see pitting, do not attempt to clean, adjust, or remove the spring yourself. Garage door spring repair in San Jose should be handled by a professional with the proper winding tools and training. A spring inspection takes a few minutes, and you can request one as part of a full-door seasonal checkup.
October is the month to get your springs inspected, because a corroded spring entering winter is a failure waiting for a cold morning. Springs always fail under maximum load, and a cold garage makes the door marginally heavier to lift. If a spring is going to snap, December through February is when it tends to happen.
Fall maintenance checklist
- Inspect both torsion springs visually with a flashlight. Note surface dust (wipe and re-lubricate) versus pitting (call a pro).
- Check the garage door’s balance: disconnect the opener and lift the door manually to waist height. It should stay put. If it drops, the springs need attention.
- Inspect all four weatherstripping zones – bottom, both jambs, and header – and replace any segments that are cracked, flattened, or pulling away.
- Clear the tracks of any wind-blown leaves or debris that accumulated during autumn yard work.
- Test the door’s manual operation for noise. Grinding or popping during operation is a cue to call before winter.
The Mild Wet Season (December – February): Seal Checks and Track Cleaning
San Jose’s winter is wet by our standards – about two-thirds of the annual 15 inches falls between December and February – but not by the standards of almost anywhere else. The risk isn’t flooding. It’s the combination of moisture, cooler temperatures, and reduced usage. In winter, garage doors sit closed for longer stretches. Any water that enters through a worn bottom seal doesn’t evaporate the way it does in July; it pools on the slab and creates damp conditions inside the garage for days. That moisture is hard on stored items, but it also accelerates corrosion on anything steel at floor level: bottom brackets, hinge lowers, and the cable drums.
The bottom seal, or astragal, is a U-shaped rubber extrusion that channels into a retainer on the door’s bottom edge. It should compress evenly against the slab along the entire door width. In San Jose, uneven compression is more common than outright failure. The seal looks fine from inside the garage but has compressed over time at one end, leaving a visible daylight gap when viewed from outside. If you can see daylight under a closed door, you’re also seeing a path for winter moisture.
Track cleaning matters more in winter than any other season. Rain mixes with road grit carried in by car tires, and that slurry splashes onto the lower sections of the door and track. When it dries, it leaves a fine abrasive paste that accelerates roller wear. A quick monthly wipe with a damp cloth along the inside of each track, from floor to about knee height, is enough. If you’re seeing a persistent grinding or squeal that worsens in wet weather, the rollers may already be compromised, and that’s a repair we’d rather do in January as a quick fix than in March as a door-off-the-track call.
One more winter note: this is the season we hear from homeowners whose doors worked fine for years and suddenly won’t open on the first try of the morning. Cold lubricant is thicker, and a cold spring produces slightly less lifting force. What it feels like is a brief pause, then a grind, then normal operation. That lag is usually condensation on the rail or rollers freezing overnight when temperatures dip into the high 30s – rare in San Jose but it does happen in the East Foothills. It’s not usually a component failure, but repeated operation under that strain shortens opener life. If it’s happening consistently, have the opener force settings checked.
Winter maintenance checklist
- On a dry day, close the door and check for daylight under the bottom seal from outside. Any gap means it’s time for a new seal.
- Wipe down the lower 3 feet of both tracks monthly, especially after rain.
- Operate the door once per week even if you don’t use the car – a door that sits closed for a month is a door that seizes up.
- Check for rust spots on bottom brackets and cable drums. Surface rust can be wire-brushed and touched up; deep rust should be evaluated.
- When it rains, check the interior perimeter of the door frame for dampness after a heavy storm. That tells you if your side seals are doing their job.
The Warming Transition (March – May): Post-Rain Inspection and Pre-Heat Prep
This is the season when we see a lot of garage door repair in San Jose requests, and typically not because anything broke overnight. Spring is when the cumulative damage of winter becomes visible, and it’s also when we can fix things before summer heat makes small problems worse.
Start with hardware. Dry winter air followed by early warm spells has a loosening effect on track bolts, hinge screws, and opener mounting hardware. A socket wrench and five minutes of tightening can keep the door running straight for another year. Pay particular attention to the bolts connecting the horizontal track to the vertical track at the ceiling, and to any bolts that pass through the wall or ceiling brackets. Those take the most load during operation.
Spring is also the right time to apply the first of the year’s three lubricant treatments, before the heat sets in. A door that runs quietly in March will usually hold up fine through September, but a door that’s already squealing in April will be much worse by August. Lubricate the rollers (light silicone, don’t soak them – excess lubricant attracts dust), hinges, bearing plates, and springs. Don’t lubricate the track itself; the rollers are designed to roll on clean metal, not a greased channel.
Finally, check cable condition. The lift cables – the two steel cables that run down both sides of the door and take up tension as it opens – should have no frayed strands, no kinks, and no visible rust at the bottom drum. A frayed cable is an accident in progress. Cables and springs are under high tension, so if you see any signs of cable wear, don’t touch anything. Call for service and let a professional handle it. Most Bramwell Garage Doors San Jose home service calls that involve cables are resolved same-day, and the price gets quoted before the work starts.
Spring maintenance checklist
- Inspect all visible hardware and tighten anything loose with a socket wrench.
- Visually check both lift cables for fraying or rust at the bottom drum.
- Apply the year’s first lubricant treatment to rollers, hinges, springs, and bearing plates.
- Run the door through five full cycles, listening for smooth operation and watching for even movement on both sides.
- If any portion of the work feels beyond your comfort level, book a professional seasonal checkup now – before summer demand peaks.
The 10-Minute Quarterly Walk-Around: A Tool-Free Routine
Here’s the simple version: four times a year, on the first weekend of January, April, July, and October, spend ten minutes walking around your garage door. No tools needed. This routine catches most problems while they’re cheap to fix and before they strand a car inside the garage or leave the house unsecured.
Step 1: Look at the door face from the street (2 minutes)
With the door closed, stand back and look at the panels. The sight lines across the panel joints should be even. A door that’s sagging slightly on one side is telling you the springs are losing tension or a cable is stretched. Check the bottom seal gap: uneven compression means a seal replacement or a slight track adjustment.
Step 2: Cycle the door once and listen (3 minutes)
Open and close the door fully. Listen for grinding, popping, or a jerky start. Smooth and quiet is the goal. Some noise from an opener motor is normal – grinding from the door itself is not. Pop during the opening cycle often signals a sticking roller or hinge.
Step 3: Check the springs (2 minutes)
Look at the spring assembly above the door. You’re checking for two things: oil sheen or rust dust on the coil surface, and any gap between coils. A torsion spring under proper tension sits with coils evenly spaced. Coil gaps that appear over time suggest the spring is approaching the end of its cycle life.
Step 4: Inspect weatherstripping (1 minute)
Run your hand along the side and top seals. They should be flexible, not cracked or flattened. Pinched or brittle rubber is a failed seal waiting to happen.
Step 5: Check the balance (2 minutes)
Pull the release cord to disengage the opener, then lift the door manually to waist height. It should stay in place on its own. A door that drops means the springs are under-tensioned and the opener is doing more work than it should. This one check can add years to your opener’s life.
The entire routine is designed to be done without tools and without any previous knowledge of door mechanics. It’s the single highest-value maintenance habit for a San Jose homeowner, because it converts the city’s predictable climate cycles into a simple, repeatable discipline.
Common Mistakes to Avoid
- Using WD-40 on the tracks and springs. WD-40 is a solvent and water displacer, not a lubricant – it strips away the existing grease and leaves components running dry. Use a garage-door-specific silicone spray on rollers and spray lithium grease on hinges and springs.
- Treating the track as a lubrication point. Greasing the track might feel right, but the rollers are designed to roll on clean metal. Oiled tracks collect San Jose’s summer dust and become a sticky, abrasive mess by fall.
- Skipping the fall spring inspection. The marine layer that arrives in October is the single most predictable environment for spring corrosion in San Jose. Ten minutes in October beats a broken spring and a car trapped in the garage in January.
- Ignoring a door that reverses after closing. This is the classic symptom of a limit switch drifting in summer heat, and many homeowners live with it for months. It’s usually a simple adjustment, but constant opener struggle shortens the motor’s life.
- Trying to tension a spring with improvised tools. Torsion springs carry several hundred pounds of stored force. A slip with anything less than the proper winding bars can cause serious injury. If the spring needs adjustment or replacement, call a professional.
- Lubricating in the morning instead of the afternoon. On a cool San Jose morning the metal is contracted, which pulls lubricant into gaps; by the hot afternoon it expands and closes those gaps, trapping lubricant where it does the most good. Late afternoon is the better time.
- Never testing the auto-reverse sensors. These sensors prevent the door from closing on pets, children, or objects. A five-second test with a roll of paper towels every quarter confirms they’re still doing their job. Many homeowners go years without realizing the sensor was accidentally knocked out of alignment.
When to Call a Professional
Some garage door work is genuinely for professionals, no exceptions. Torsion spring replacement and adjustment, cable replacement or re-spooling, track realignment, opener force and limit recalibration when simple resets don’t fix the problem, and any repair that requires working on a ladder while applying tension or leverage – all of these fall under the category of dangerous, not DIY. If your door has a broken spring, a frayed cable, or a panel that’s come off its roller, leave the door closed and call for service. If the door is stuck in the open position, do not attempt to pull it down: the stored energy in the spring system can cause it to drop suddenly. Garage door installation in San Jose is also a job for professionals, with exact measurements and proper tooling needed to ensure the new door operates safely. Bramwell Garage Doors San Jose offers free estimates on repair and replacement work – call (669) 444-4253 and a live person answers, day or night.
Frequently Asked Questions
Most torsion-spring replacements on a standard two-car San Jose garage door run $150 to $280, parts and labor included, though the total depends on spring spec, door weight, and accessibility. For fuller pricing context, see our Garage Door Cost Breakdown: The San Jose Homeowner’s Reference for 2026. The price for your specific door gets quoted in writing before any work starts, so the number you hear is the number you pay. Call (669) 444-4253 for a free estimate.
Three times a year: once in March before the dry heat, once in July at the height of summer, and once in November after the marine layer sets in. Use silicone spray on rollers and spray lithium grease on hinges and springs; skip the tracks entirely.
In summer, sustained heat causes the plastic and metal components inside the opener’s limit switch assembly to expand slightly, changing the point where the door thinks it should stop. On many LiftMaster, Chamberlain, and Craftsman openers, you can reset the travel limits using the buttons on the motor unit. If the problem returns within a week, the limit assembly itself needs replacement.
Yes, most seasonal maintenance is tool-free. The 10-minute quarterly walk-around described in this guide covers visual spring inspection, balance testing, seal checking, and listening for changes in operation. The only tool you’ll eventually want is a socket wrench for tightening loose hardware in spring, and even that’s optional for the basic routine.
Yes. The marine layer that sits in San Jose from October through March creates nightly condensation on uninsulated metal surfaces, and torsion springs are the most vulnerable component because they’re under constant tension. Early corrosion looks like fine orange dust; pitting is the danger sign. Inspecting springs each fall is the single most valuable preventive action for San Jose homeowners.
A popping sound most commonly means a roller is sticking, a hinge is tightening, or a spring is failing. Sticking hinges and rollers can often be resolved with proper lubrication; a spring that pops during operation is a red flag that should be checked by a professional right away. A breaking torsion spring is loud and sudden, and it’s dangerous to be near.
The Bottom Line
San Jose’s climate is deceptively hard on garage doors. Dry heat expands steel and drifts opener limits. Marine layer humidity corrodes springs. Winter moisture exploits worn seals. And the transitions between seasons loosen hardware and expose the fatigue that’s been accumulating quietly for months. The countermeasure is simple: a ten-minute walk-around four times a year, aligned to the city’s actual seasons, plus professional inspections when anything unusual turns up. That’s how a door that would otherwise last nine or ten years reaches fifteen or twenty. And when a repair does come up, you already know the drill: get a written quote, understand the guarantee you’re getting, and call (669) 444-4253 to schedule service in San Jose. For more guides & resources, visit our blog.
Written by Marcus Ellery, Owner at Bramwell Garage Doors San Jose, serving San Jose since 2001.
See the difference
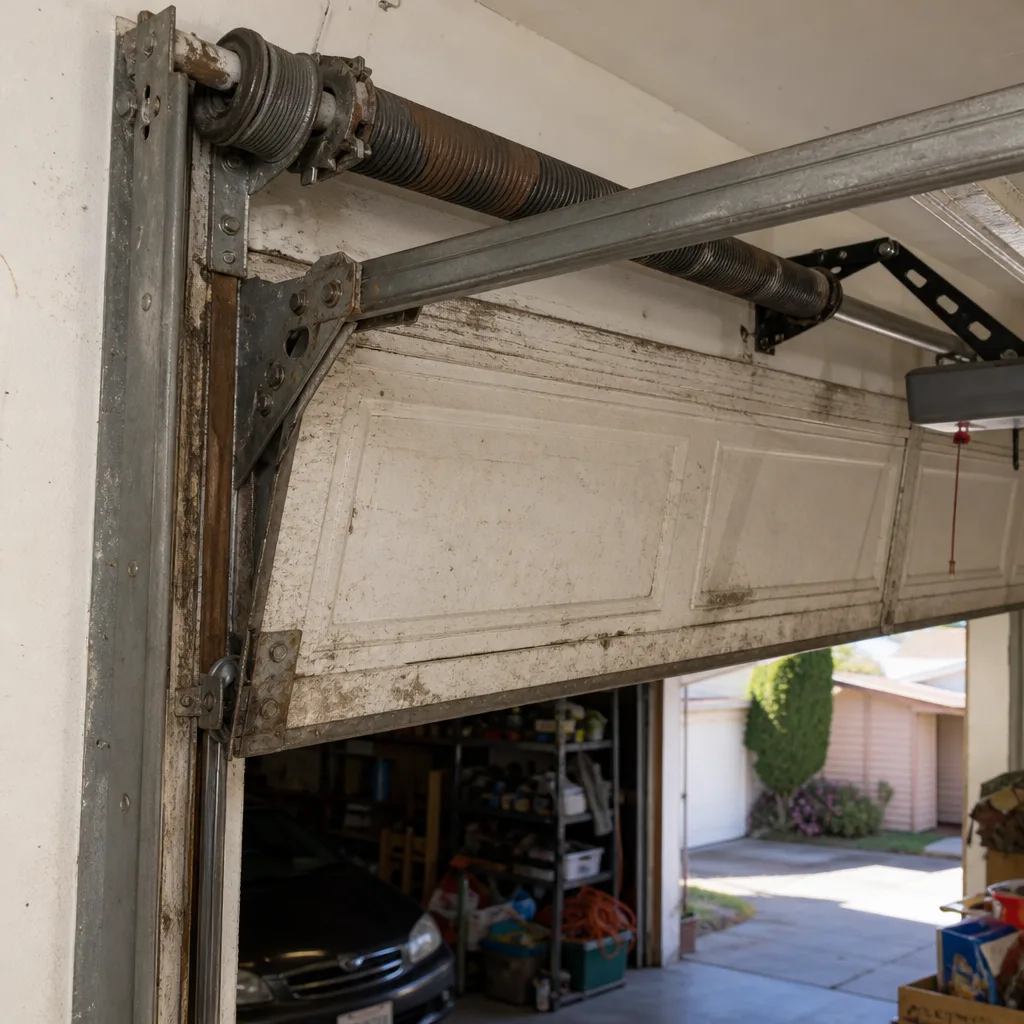 Before
 After
After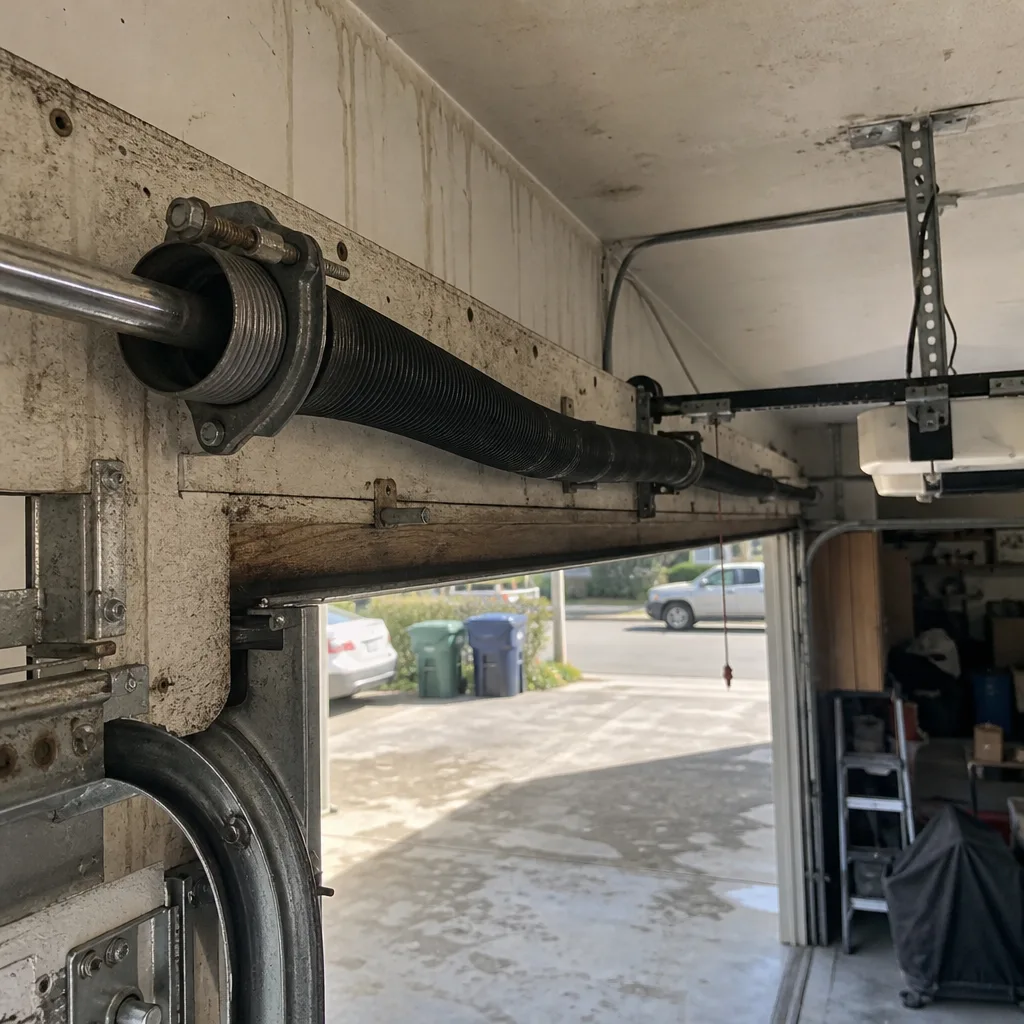 Before
 After
After Before
 After
After