
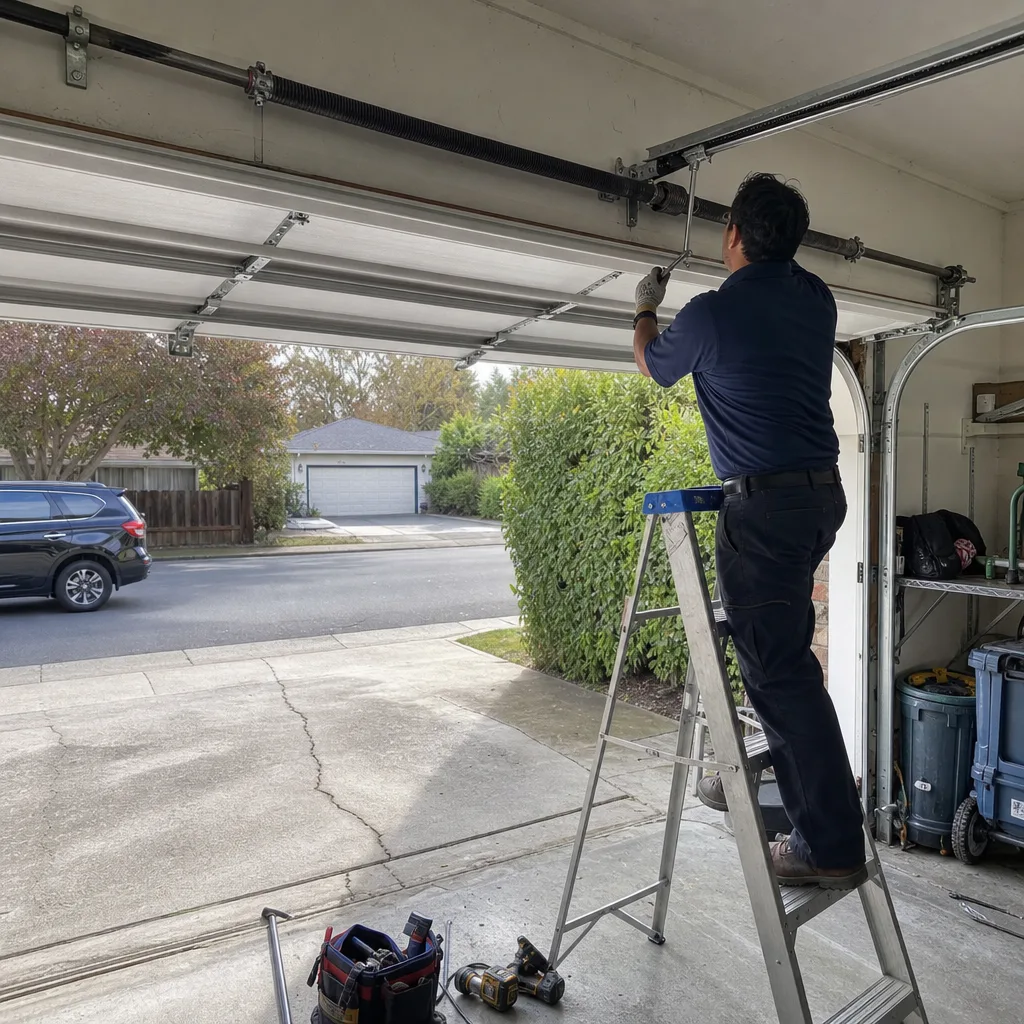
Last updated October 16, 2026
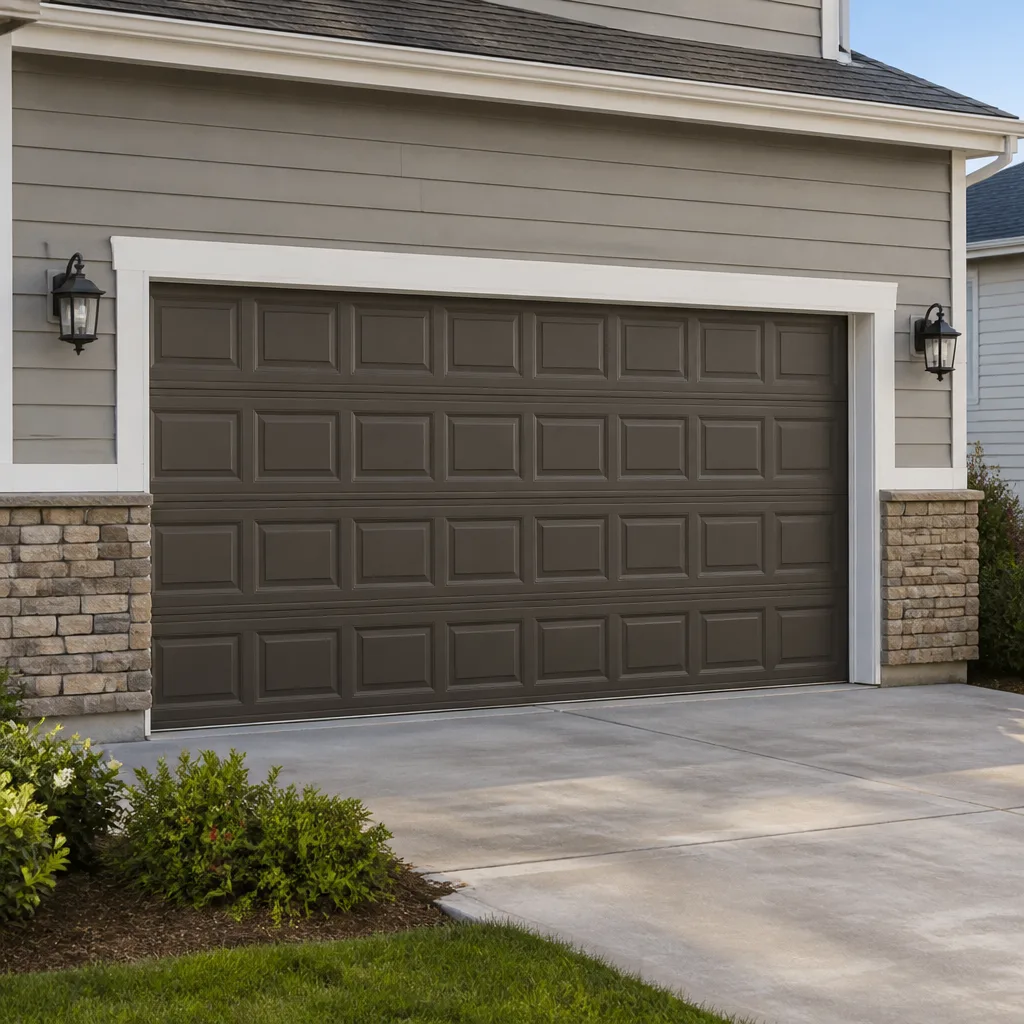 Raised-panel steel
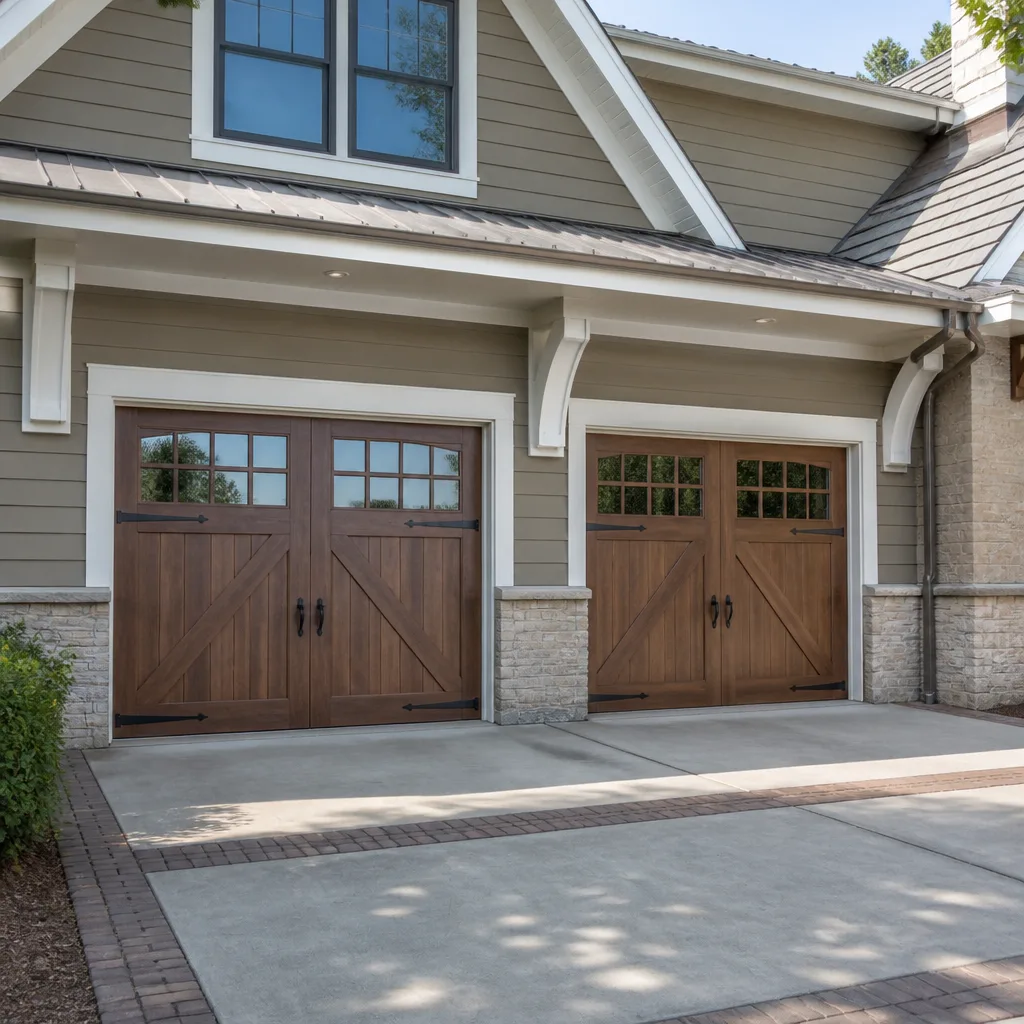 Carriage house
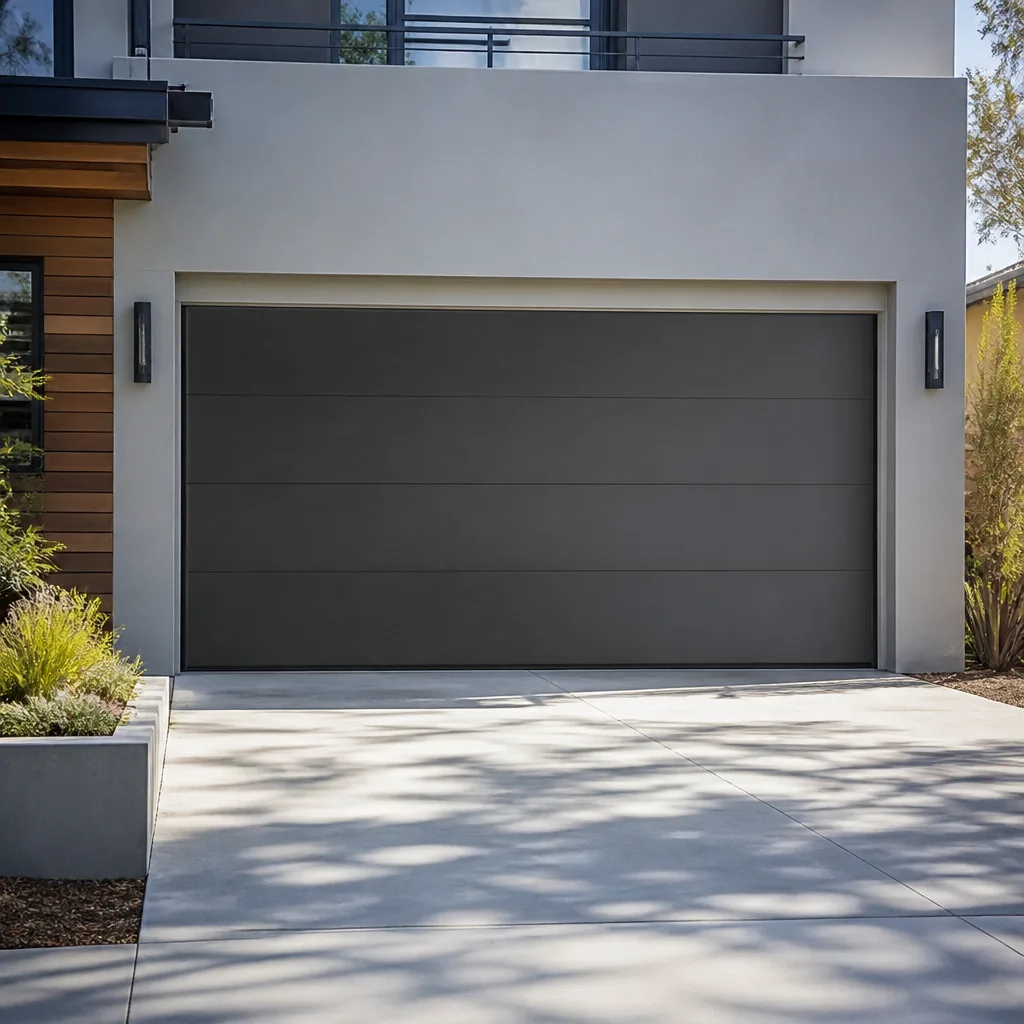 Modern flush
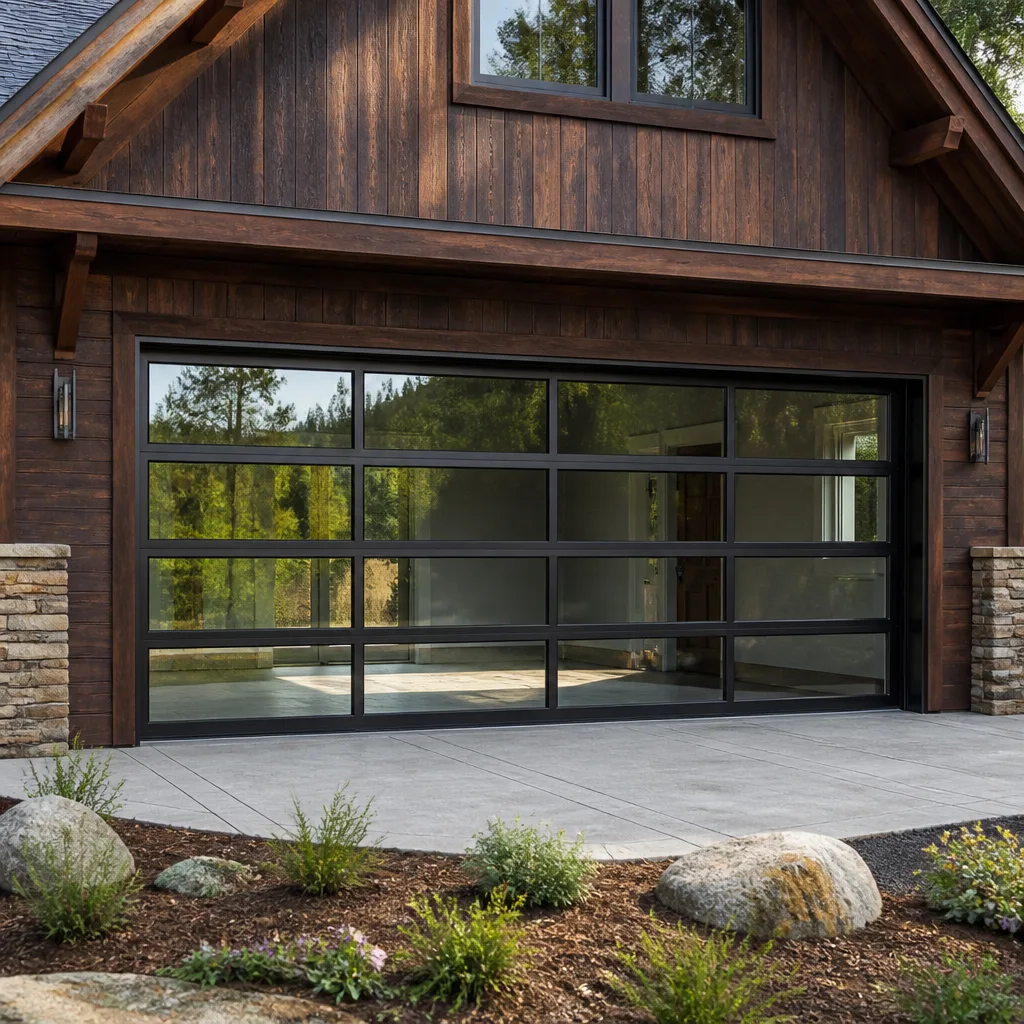 Full-view glass
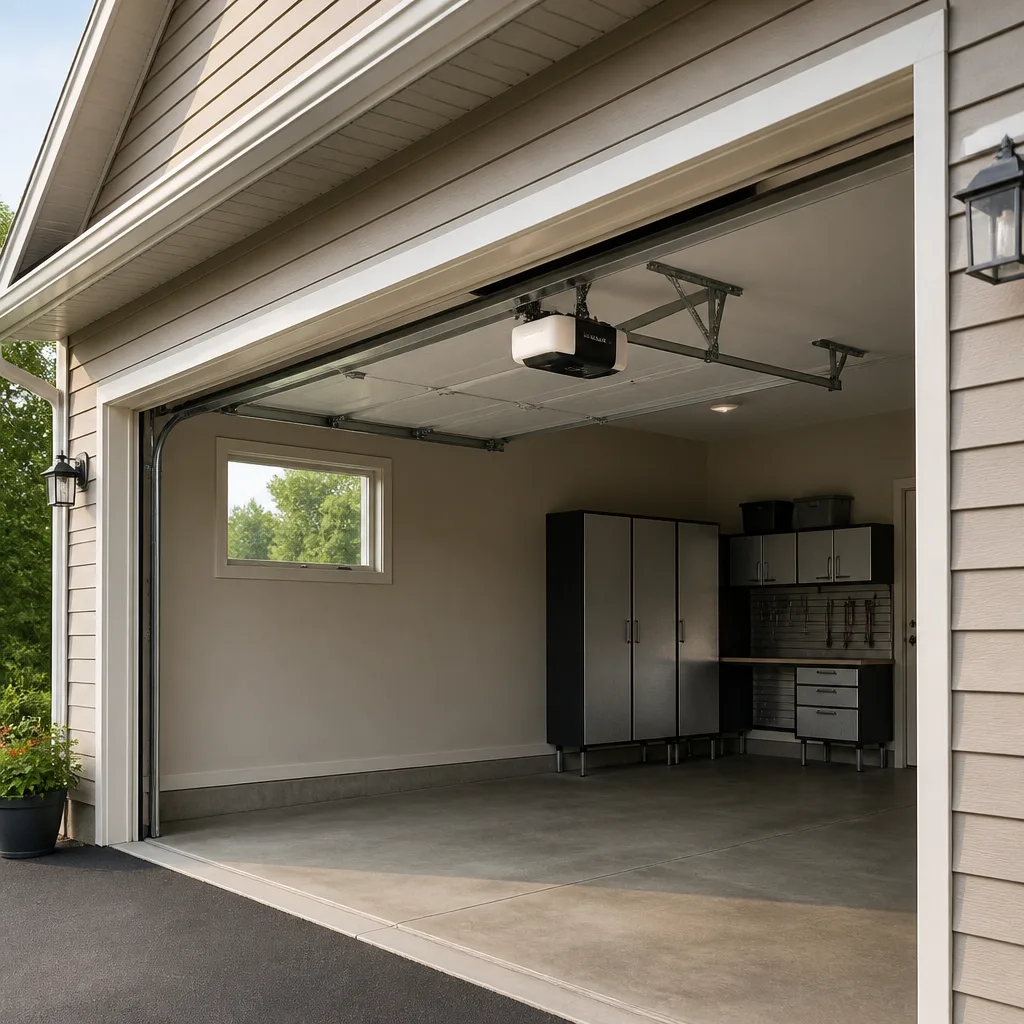 LiftMaster openers
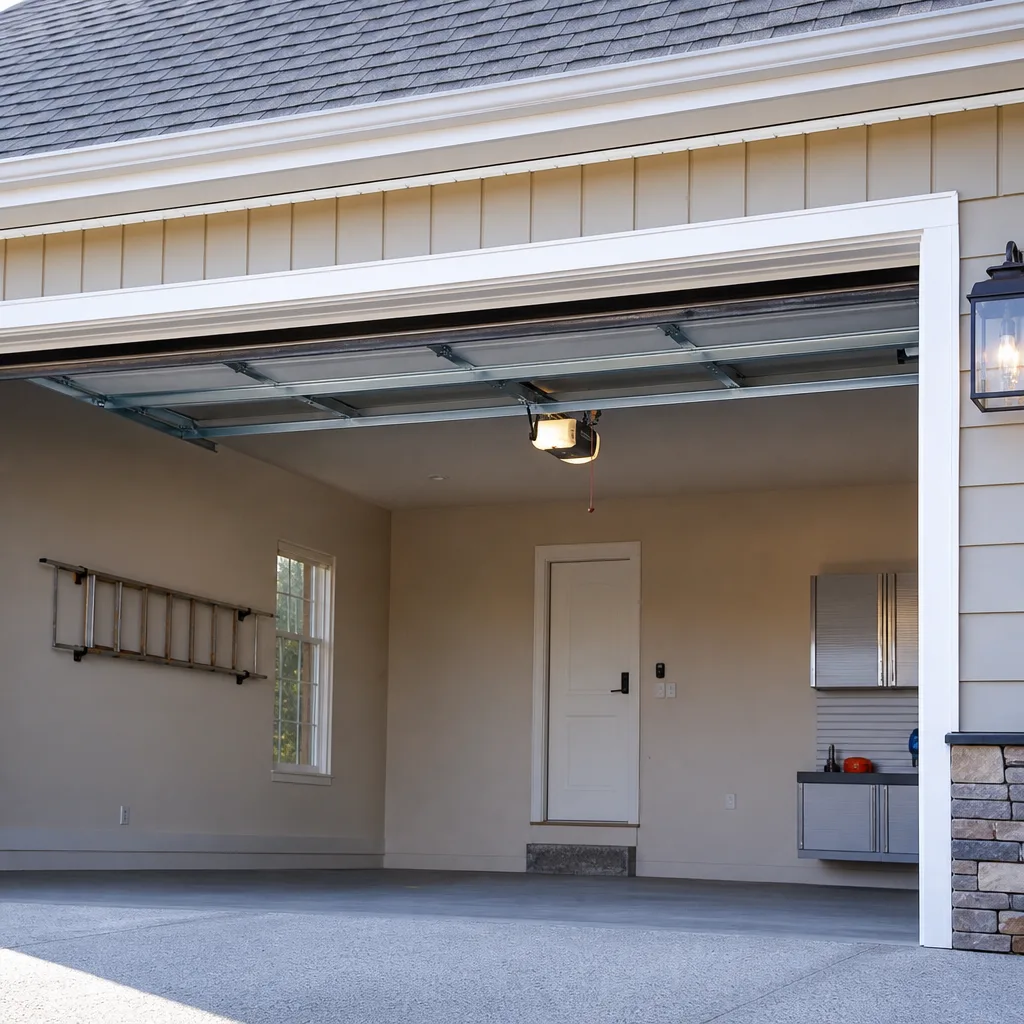 Chamberlain openers
Full 25-point door and opener safety check with every visit - springs, cables, rollers, tracks, and your LiftMaster or Chamberlain opener included
You get a price before we start. It does not change when the truck arrives.
Get your free estimateDIY vs Professional Garage Door: The San Jose Homeowner’s Decision Guide
Here’s the thing most online tutorials won’t tell you: a garage door torsion spring under full tension stores roughly the same rotational energy as a mid-size car moving at 15 miles per hour. That energy releases in under a second when the spring fails. This isn’t a warning designed to scare you away from ever touching your garage door. It’s the factual starting point for a decision guide that respects both your time and your safety. In San Jose, where houses run the gamut from 1950s Willow Glen ranches with original hardware to new builds in Evergreen with smart openers, we see the same split every week: some tasks are genuinely DIY-friendly, and a handful are not, no matter how many videos you’ve watched. By the end of this guide, you’ll know exactly which category every common garage door job falls into, what it should cost, and when calling a professional is the move that actually saves you money.
Styles & brands we work with
Quick Answer
Most garage door maintenance tasks, like lubing rollers or replacing weather stripping, are safe for a competent DIYer with basic tools and will save you $80 to $200 per job in San Jose. But anything involving the torsion spring, lift cables, or the opener’s electrical wiring falls into professional-only territory because the failure mode is fast, silent, and can cause lacerations, fractures, or worse. The honest split: roughly 60% of garage door tasks are DIY-suitable, 40% require a licensed professional, and knowing the difference is what this guide and our Garage Door Repair Maintenance Checklist for San Jose Homeowners will give you.
Table of Contents
- The Three Buckets: How to Categorize Any Garage Door Task
- Why Torsion Springs Are Different: The Physics in Plain Language
- Safely DIY: The Tasks That Genuinely Save You Money
- DIY With Caution: Jobs That Need Specific Precautions
- Professional-Only: Stored Energy, High Voltage, and Why Tutorials Fall Short
- Cost Comparison: DIY Tools and a Botched First Attempt vs. One Professional Visit
- The YouTube Tutorial Problem: What Those Videos Omit
- Common Mistakes to Avoid
- When to Call a Professional
- Frequently Asked Questions
- The Bottom Line
The Three Buckets: How to Categorize Any Garage Door Task
We’ve seen hundreds of garage doors across San Jose neighborhoods from Almaden Valley to Berryessa, and we can tell you this with confidence: the DIY-versus-professional decision is rarely about how handy you are. It’s about the physics of the part and what happens when it fails. Every garage door task falls into one of three buckets. Bucket one is safely DIY with basic tools. These are jobs where the worst realistic outcome is a door that still doesn’t work, and you spend an afternoon figuring it out. Bucket two is DIY with risk and specific precautions. You can do these, but you need to understand a specific hazard and respect a clear safety boundary. Bucket three is professional-only, full stop. The common thread in bucket three is stored energy: a wound torsion spring, a cable under several hundred pounds of tension, or a capacitor holding a charge. The energy releases faster than human reaction time, and no amount of YouTube confidence changes that.
Here’s the breakdown that matters:
- Safely DIY: Weather stripping replacement, bottom seal replacement, hinge and roller lubrication, battery replacement in remotes or keypads, remote programming, panel painting or refinishing, cleaning and inspecting tracks
- DIY With Caution: Sensor realignment, limit switch adjustment, opener reprogramming after a power surge, tightening loose bolts on brackets, replacing a burned-out opener lightbulb
- Professional-Only: Torsion spring replacement, extension spring replacement, lift cable replacement or repair, opener motor replacement, any work on the opener’s circuit board or transformer, track replacement or major realignment, panel replacement involving the bottom fixture
The distinction holds across every San Jose housing stock. A 1960s Cambrian Park home with a one-piece tilt door and an extension spring system has the same professional-only boundary as a 2020 North San Jose townhome with a sectional door and a jackshaft opener. The hardware differs, the stored energy does not.
Why Torsion Springs Are Different: The Physics in Plain Language
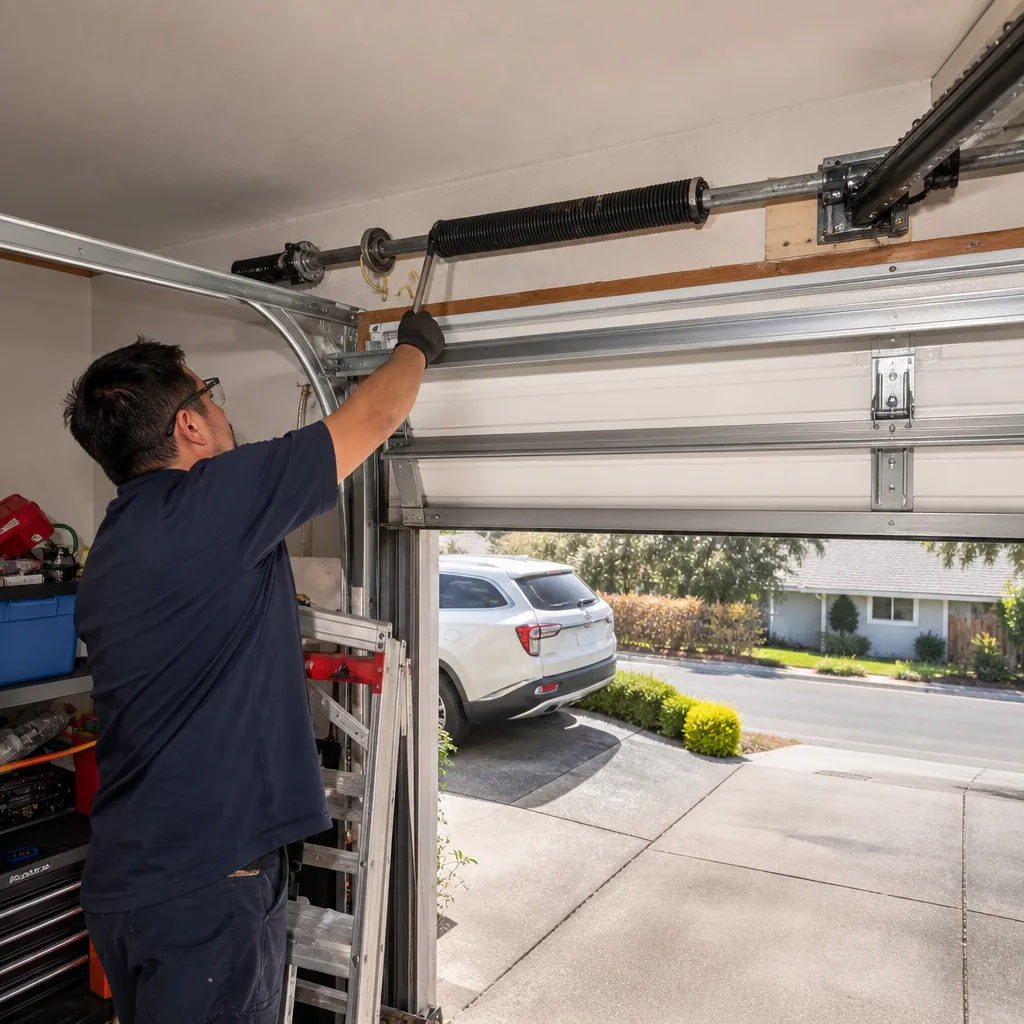
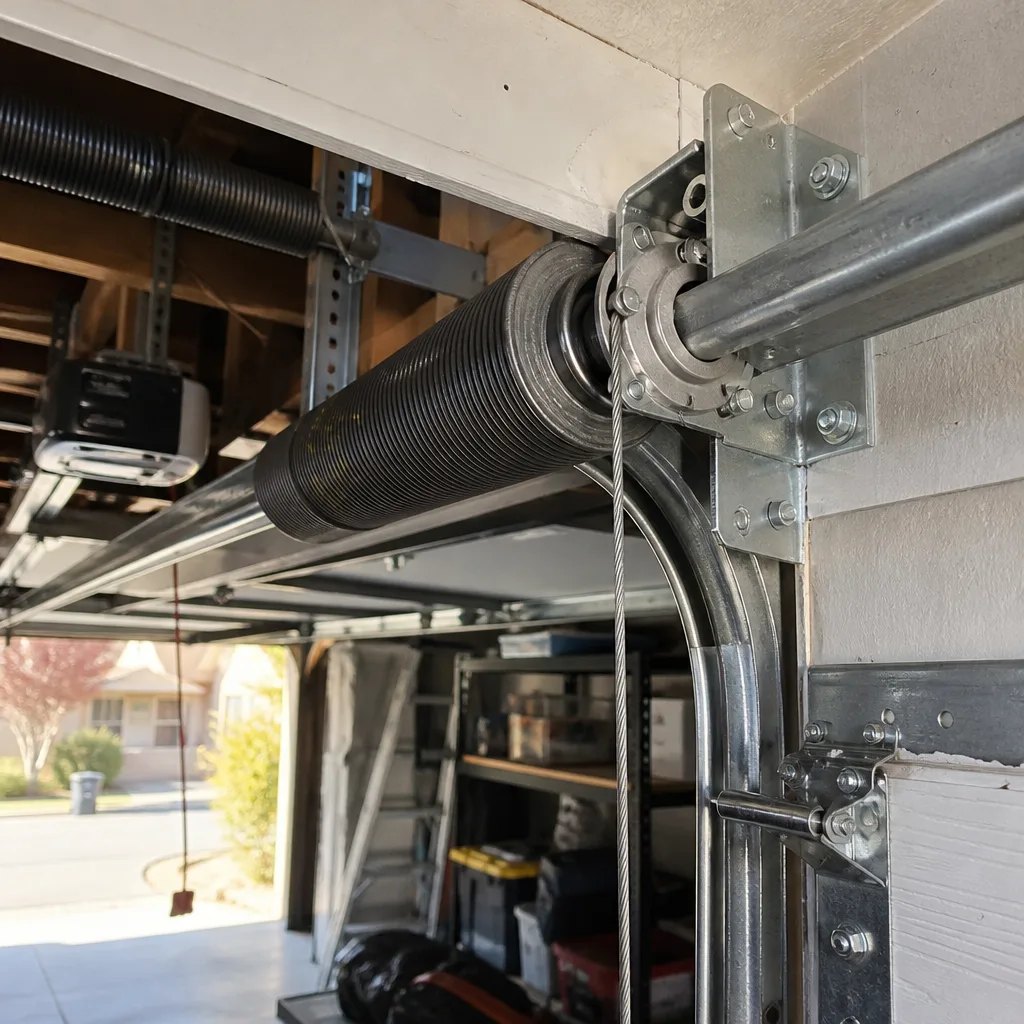
A torsion spring in a garage door system is a heavy coil of steel mounted on a shaft above the door opening. When you close the door, the spring winds tighter, storing rotational energy. That energy is what lifts the door the next time you open it. A typical residential torsion spring is wound through seven to ten full turns. At that level of wind, the spring is holding hundreds of foot-pounds of torque. If the spring snaps while you’re working on it, that stored energy releases instantly, spinning the shaft and the winding bars at a speed that can fracture a wrist or send a metal bar through drywall. This isn’t theoretical. Garage door spring injuries account for roughly 20,000 emergency room visits in the U.S. annually, and the most common injury pattern is a winding bar striking a hand or face when a spring lets go mid-adjustment.
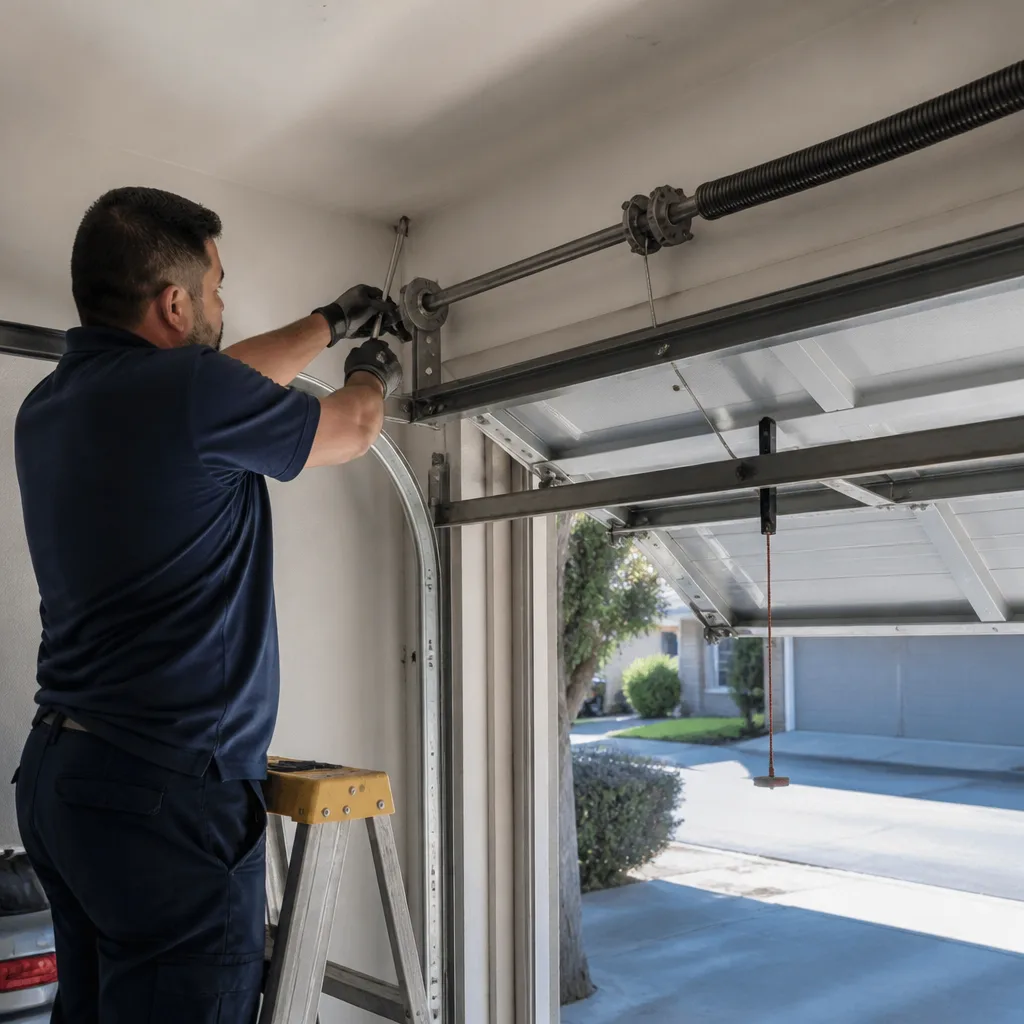
The reason a professional uses winding bars and a specific ladder position isn’t ceremony. It’s control. The bars are inserted into the winding cone, turned a quarter turn at a time, and kept in place by the spring’s own tension. If the mechanic’s grip slips, the bar stays in the cone. If a homeowner improvises with a screwdriver or a pair of pliers, the tool slips out, the cone spins, and the bar becomes a projectile. We’ve had to replace entire torsion shafts that homeowners in Santa Teresa and Blossom Valley bent beyond repair after an improvised spring attempt. The shaft alone runs $80 to $150, and the new spring adds $150 to $280 on top of that in the San Jose market.
The takeaway is not that torsion springs are mysterious. They’re not. The takeaway is that the margin for error is measured in fractions of a second, and a professional spends years building the muscle memory for that specific motion. A video cannot convey the feedback of a properly seated bar, and a written guide cannot correct your hand position in real time.
Safely DIY: The Tasks That Genuinely Save You Money
Now for the good news. Several garage door upkeep jobs are straightforward, low-risk, and will put real money back in your pocket if you do them yourself. Let’s start with weather stripping and the bottom seal. A broken or compressed bottom seal is the most common cause of drafts, water intrusion, and rodent access we see in San Jose garages, especially in winter when the valley gets real rain. The replacement part costs $20 to $40 at any hardware store, and installation is a pull-out, slide-in job that takes under an hour. In the San Jose market, a professional replacement runs $120 to $180. Your savings: $100 to $140.
Lubrication is another easy win. A can of white lithium grease or garage door specific lubricant costs $10 to $15. You’ll apply it to the rollers, hinges, and the torsion spring itself twice a year. A professional lubrication service in San Jose typically runs $75 to $100 per visit. Doing it yourself twice a year saves $140 to $185 annually. The key is using the right product: a lithium-based spray, not WD-40, which is a solvent that strips existing lubricant rather than adding new protection.
Remote programming is the third big saver. If you’ve bought a new remote or your opener lost its code after a power surge, most opener brands let you reprogram a remote in under ten minutes. The process usually involves pressing the Learn button on the opener motor and then a button on the remote. You’ll find the exact steps in your owner’s manual or online for LiftMaster, Chamberlain, Genie, and Craftsman models. A service call for remote programming in San Jose runs $75 to $110, and the task requires zero special tools.
Panel painting is the most involved DIY-friendly task. A garage door that’s faded or peeling can be repainted with an exterior acrylic latex paint after a good wash and light sanding. Materials run $60 to $120 for a typical two-car door, including primer and a day of your labor. A professional repaint in San Jose runs $400 to $800, depending on the door’s condition and size. The catch: you need a dry, warm weekend, and San Jose’s foggy mornings can slow paint curing. Plan for late spring or early fall when the marine layer burns off earlier.
DIY With Caution: Jobs That Need Specific Precautions
Between the genuinely safe and the professional-only sits a middle tier. These are tasks you can do yourself, but only if you understand a specific hazard and follow a defined safety step. Sensor realignment is the most common job in this tier. If your door starts closing and then reverses partway, especially if the lights flash, your photo eye sensors are misaligned. The fix involves loosening the wing nut on one sensor, adjusting it until the indicator light turns solid, and retightening. It’s a simple job, but the precaution is to unplug the opener first so there’s no chance of the door activating while your hand is near the sensor. Electricity and moving parts don’t mix.
Limit switch adjustment is another cautious DIY. The limit switch controls how far the door travels up and down. If your door closes and then bounces back up, or doesn’t close all the way to the concrete, the limit setting may be off. Most openers have simple dial or screw adjustments on the motor unit. The caution here is incremental: turn the dial a quarter turn at a time, test after each change, and never adjust the force setting to maximum to compensate for a door that’s actually off balance. That’s a band-aid that masks a deeper problem, and it can cause the door to crush whatever is under it if the auto-reverse is overpowered.
Tightening loose bolts on the door frame and track brackets is a good annual task for any San Jose homeowner. The expansion and contraction from summer heat to winter cold, plus the daily vibration of the door cycling, works bolts loose over time. A socket wrench and ten minutes will firm things up. The important line: never loosen or remove the red-painted bolts on a torsion spring assembly. Those are the tension bolts, and touching them without unwinding the spring is how serious accidents happen. In our experience, most San Jose homes benefit from a bolt-tightening once a year, ideally before the rainy season when swollen wood and metal contraction put extra stress on the framing.
Professional-Only: Stored Energy, High Voltage, and Why Tutorials Fall Short
The professional-only bucket is defined by two things: stored mechanical energy and electrical hazard. We’ve already covered the torsion spring, but the same principle applies to lift cables. Those are the steel cables that run from the bottom corners of the door up to the drum on the spring shaft. Each cable is carrying a share of the door’s weight, typically 150 to 250 pounds for a standard two-car door. When a cable frays and snaps, it whips through the air at head height. Replacing a cable requires loosening the spring tension, seating the new cable in the drum groove, and rewinding the spring to the correct count. Get the groove wrong and the cable stacks, jams, and snaps. Get the wind count wrong and the door bounces or slams. This is a job where a professional’s $180 to $280 fee looks cheap compared to a new door panel or an arm injury.
The same holds for opener motor replacement. The opener contains a capacitor that can hold a charge even after the unit is unplugged. The motor itself is a 120 to 240-volt appliance, and working on its internal wiring without knowing which terminals are live is how home electrical accidents happen. If the opener is clicking but the motor doesn’t run, or the motor runs but the door doesn’t move, that’s an internal fault. A professional will diagnose it in under an hour and replace the unit same day if needed. A DIY attempt usually ends with a new opener being ordered anyway, plus the cost of the old one’s disposal.
Track replacement is professional-only for a reason that has nothing to do with electricity. A garage door track system has to be perfectly plumb and level, with the vertical and horizontal sections meeting at a precise curve. A misalignment of even a quarter inch causes the rollers to bind, the door to jerk sideways, and the cables to rub against the track until they fray. In San Jose, where many homes sit on expansive clay soil that shifts with winter rains and summer drought, garage door tracks drift out of alignment more often than homeowners expect. A pro will remove the old track, check the header and jambs for movement, and install the new track with shims where needed. The job typically runs $300 to $500 in the San Jose market, including the new track, hardware, and labor.
Cost Comparison: DIY Tools and a Botched First Attempt vs. One Professional Visit
Let’s talk honestly about what a DIY garage door repair really costs when it goes wrong. Say you’ve decided to tackle a slack lift cable yourself. You watch a few videos, buy a pair of locking pliers and a socket set for $60, and spend a Saturday on the job. If everything goes perfectly, you’ve saved the $180 to $280 professional fee. But here’s what the tutorials don’t tell you: seating a cable into the drum groove correctly requires getting the door exactly level, releasing the spring tension in a specific sequence, and knowing how many turns the spring needs when you rewind it. Get any of those wrong and one of two things happens. Either the cable stacks and jams the door shut, bending the drum in the process, or the door goes up crooked and one corner slams into the header. Now you’re calling for professional garage door repair in San Jose anyway, plus replacing a bent drum or a damaged panel that the DIY attempt created. Your $60 in tools plus the $200 repair plus the $150 drum now totals $410, versus the original $200 to $280 professional visit.
Here’s a realistic table comparing DIY costs to professional costs for the most common San Jose garage door jobs:
- Bottom seal replacement: DIY $20 to $40 in parts, 1 hour. Professional: $120 to $180. Savings: $100 to $140.
- Remote programming: DIY $0, 10 minutes. Professional: $75 to $110. Savings: $75 to $110.
- Roller and hinge lubrication: DIY $10 to $15, 30 minutes twice yearly. Professional: $75 to $100 per visit. Annual savings: $140 to $185.
- Panel repainting: DIY $60 to $120 in materials, one full day. Professional: $400 to $800. Savings: $280 to $680.
- Sensor realignment: DIY $0, 20 minutes. Professional: $75 to $100. Savings: $75 to $100.
- Torsion spring replacement: DIY attempt (not recommended): $80 to $150 in tools, high injury risk. Professional: $150 to $280 for a single spring, parts and labor included.
- Lift cable replacement: DIY attempt (not recommended): $60 to $100 in tools, high damage risk. Professional: $180 to $280, parts and labor included.
The pattern holds: the safe DIY jobs save real money. The dangerous DIY jobs risk costing more than the professional would have charged in the first place, and that’s before the cost of a hospital visit or a missed day of work.
The YouTube Tutorial Problem: What Those Videos Omit
YouTube has made every homeowner feel like an apprentice. That’s often a good thing. For the safe DIY bucket, video tutorials are genuinely useful. But for stored-energy and electrical jobs, there are three things tutorial videos routinely omit that make a real difference in how the job goes. First, the wind count. A torsion spring has a specific number of quarter turns based on the door’s height, weight, and track radius. A standard 7-foot door usually requires 7 to 8 full turns, but a heavier wood door or a door with an unusual track setup might require more or fewer. Get the count wrong and the door either won’t open fully or launches upward when released. Videos often say “rewind it to the same number of turns,” but that assumes you counted the turns as you unwound it, which most first-timers don’t.
Second, the cable drum groove seating. Lift cables run through a spiral groove on the drum. Each groove is designed for a specific cable diameter. If the cable doesn’t seat fully in the groove on the first wrap, the next wrap rides on top of it, creating a bulge that jams the door halfway up. Fixing that requires unwinding the spring again and reseating the cable, which doubles the work and the risk. We’ve been called to San Jose homes in Willow Glen and Naglee Park where a DIY cable attempt left the door stuck three feet off the ground and the homeowner exhausted from wrestling with the spring for four hours.
Third, videos almost never mention the failure mode. They’ll show the steps but not explain what happens if the winding bar slips, or the spring snaps, or the cable comes off the drum while you’re working. Professionals know the failure modes because they’ve seen them. A first-time DIYer doesn’t know what they don’t know, and that’s exactly when the injuries happen.
The honest guidance: use YouTube for the safe bucket, or explore more guides & resources on our blog. Use it to learn how your system works before you call a professional, so you understand what the technician is explaining. Use it to change a battery or lube a roller. But don’t let a well-edited 12-minute video convince you that a torsion spring is just another part. It isn’t.
One more San Jose-specific note: earthquake preparedness matters here. A garage door that’s off balance or has a severely worn spring is more likely to come off its tracks during a quake. After any significant seismic event, it’s worth a quick visual check: do both springs look intact, are the cables seated, does the door open and close evenly. If anything looks off, garage door spring repair in San Jose is a call you’ll be glad you made before the next daily cycle stresses the weakened part further.
Common Mistakes to Avoid
- Using WD-40 as a garage door lubricant. WD-40 is a solvent, not a lubricant. It strips the existing grease off your rollers and hinges, leaving them drier than before. Use a lithium or silicone spray made for garage doors.
- Removing the red tension bolts on the torsion assembly. Those bolts are painted red for a reason. They hold the spring under tension. Removing one while the spring is wound is the most common cause of serious garage door injuries in San Jose homes we’ve visited.
- Adjusting the opener force setting to maximum to compensate for a heavy door. If your door is struggling to open, the force setting isn’t the problem. The spring is weak or the door is off balance. Boosting the force overrides the auto-reverse safety, which is what keeps a closing door from crushing a child or pet.
- Replacing one spring instead of both. Torsion springs have a lifespan measured in cycles, typically 10,000 open-close cycles, and both springs on a two-spring door wear at the same rate. If one breaks, the other is close behind. Replacing both saves a second service call within months.
- Ignoring a squealing or grinding noise because “it still works.” That noise is metal wearing against metal. It means a bearing or a roller is failing, and the longer you wait, the more likely the part seizes and causes a cable or spring failure. A $120 roller and bearing replacement now beats a $400 emergency call later.
- Painting the weather stripping along with the door. Paint makes rubber seals stiff and brittle. Tape off the seal before painting, or replace it after the paint cures. A new bottom seal is $20 to $40, and a painted-over seal fails within a year in San Jose’s dry summer heat.
- Ignoring a door that jumps or shudders when opening. That’s a sign of an out-of-round drum, a damaged roller, or a failing spring. Each of those gets worse with every cycle, and the failure is rarely gradual. In our experience across San Jose, the doors that fail suddenly almost always gave a warning sign weeks earlier.
When to Call a Professional
There’s a short list of situations where calling a professional isn’t a concession, it’s the financially and physically safer decision. If your torsion spring is broken, if a lift cable is frayed or snapped, if the door is off its tracks, if the opener motor is running but the door doesn’t move, or if the door fell while you were operating it, stop and call. These are the jobs where the energy involved is beyond what a hand tool and a careful afternoon can safely manage. In San Jose, where garage doors often see two to four open-close cycles daily, these failures are common enough that a professional sees them every week, and the diagnosis takes minutes rather than hours.
Bramwell Garage Doors San Jose offers free estimates across San Jose, including the valley, the East Side, and the foothill neighborhoods. Call (669) 444-4253 and a real person answers, day or night. You’ll get a written price before any work starts, and every repair carries a 365-day guarantee in writing. For installation and replacement projects, the same rule applies: a free measure, a written quote, and a scheduled arrival window, never a vague “sometime Tuesday.”
Frequently Asked Questions
Torsion spring replacement in San Jose typically runs $150 to $280 for a single spring, parts and labor included, and $250 to $450 for a pair. The exact price depends on the spring’s wire size, length, and the door’s weight. Call (669) 444-4253 for a written quote before any work begins; the price is set upfront in writing.
No, this is the one task where the risk of serious injury outweighs any possible savings. The spring holds thousands of pounds of torsional force, and when it releases, it does so in under a second, faster than you can react to a slip. A professional has the right winding bars, the right wind count experience, and the insurance to cover the work. The $150 to $280 professional fee is cheaper than an emergency room visit.
You can safely replace the bottom seal, weather stripping, lubricate rollers and hinges, program remotes, align sensors, and paint panels. These jobs use basic tools, carry low risk, and save $75 to $680 per job compared to professional rates in San Jose.
Twice a year is the right cadence for San Jose. The summer heat dries out lubricants, and the winter rains cause metal components to contract and wood frames to swell. A spring and fall lubrication, plus an annual bolt-tightening, will extend the life of the springs, rollers, and opener by years.
Yes. Bramwell technicians are authorized to service LiftMaster, Chamberlain, Genie, Clopay, Amarr, Wayne Dalton, Craftsman, and Raynor equipment. If your opener is older or the brand is less common, call (669) 444-4253 and we’ll confirm parts availability before you schedule.
Every repair made by Bramwell is covered in writing for 365 days. If a covered repair fails within that year, we return to correct it at no charge. The promise covers the parts and the labor on the specific repair, and it’s written on the invoice, not just spoken at the door. The Kingswell Guarantee also includes a written price before work starts, a stated arrival window, and a clean job site when we leave.
In most cases, yes. A live person answers the phone 24/7 at (669) 444-4253, and we schedule same-day spring replacement across San Jose whenever the parts truck can reach you. We carry a full range of torsion springs on the truck, so the technician can usually complete the replacement in a single visit.
Need a professional opinion before you start a DIY project? Our team at Bramwell Garage Door Installation in San Jose can answer questions and give you honest guidance, even if the answer is “you can do that one yourself.” Call (669) 444-4253 for a free estimate.
The Bottom Line
The DIY-versus-professional question for garage doors comes down to one clean principle: if the part stores energy, hire a professional. If the part just needs cleaning, adjusting, or replacing with a non-tension component, roll up your sleeves and keep the savings. San Jose homeowners who internalize that split will save real money on weather stripping, lubrication, and remote programming while avoiding the injuries and costly mistakes that come from spring, cable, and opener work. Respect the red bolts, use the right lubricant, and call before you’re in over your head. The number to remember is (669) 444-4253, answered by a live person around the clock, with a written price before any work starts and a written guarantee on every repair.
Written by Marcus Ellery, Owner at Bramwell Garage Doors San Jose, serving San Jose since 2001.
See the difference
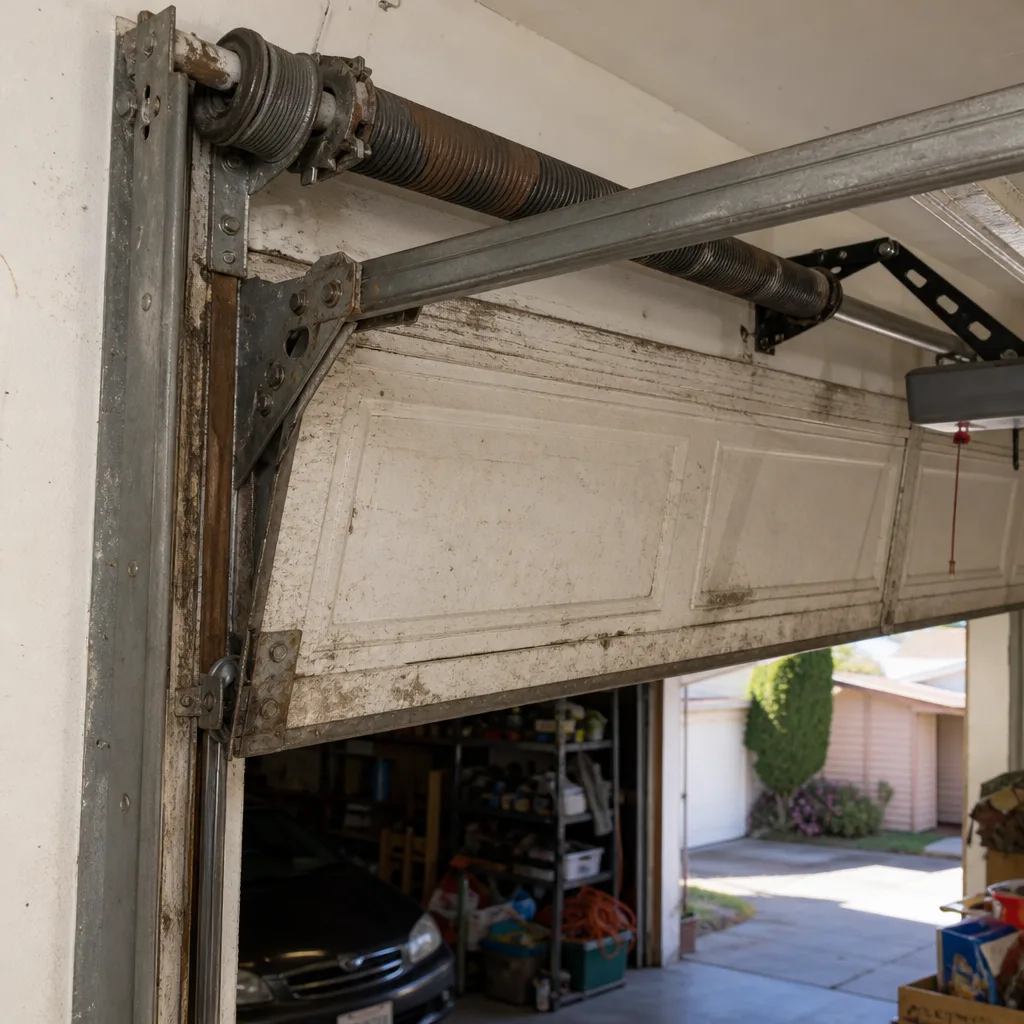 Before
 After
After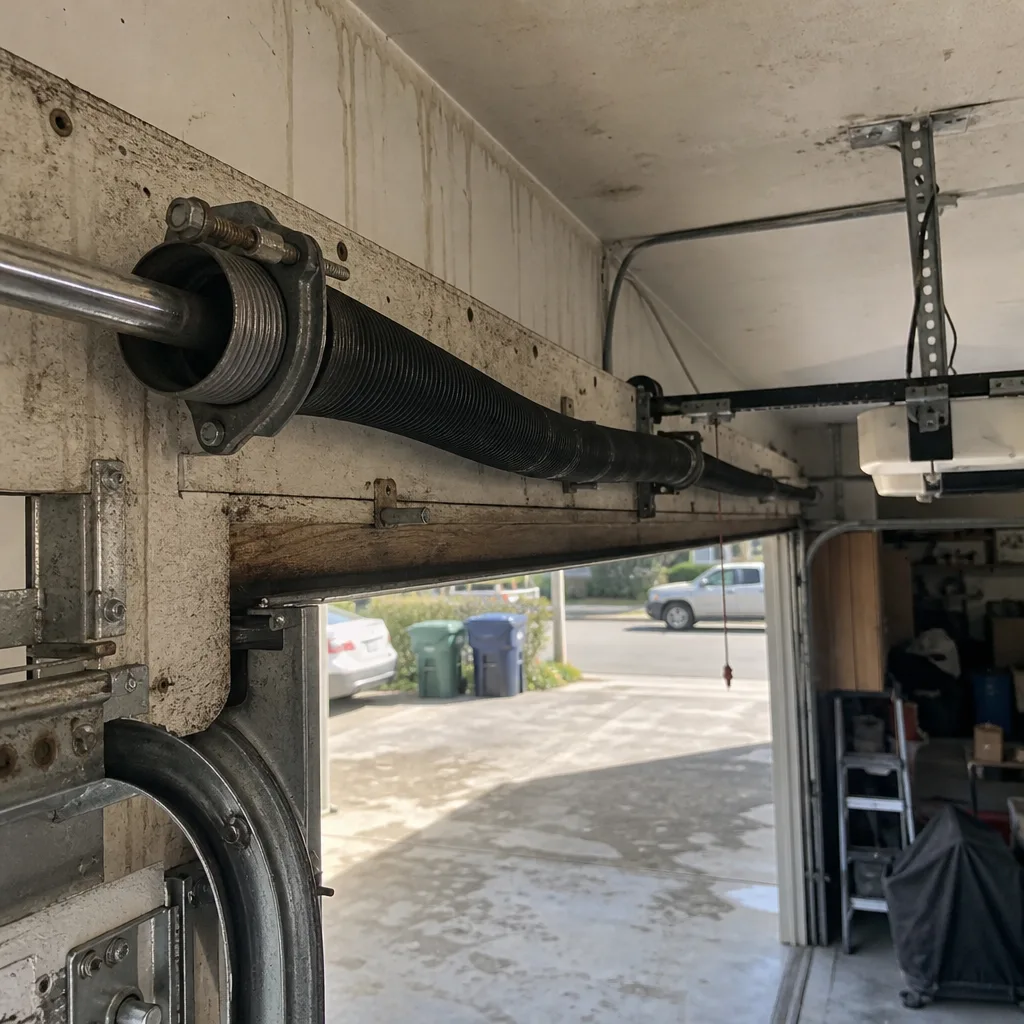 Before
 After
After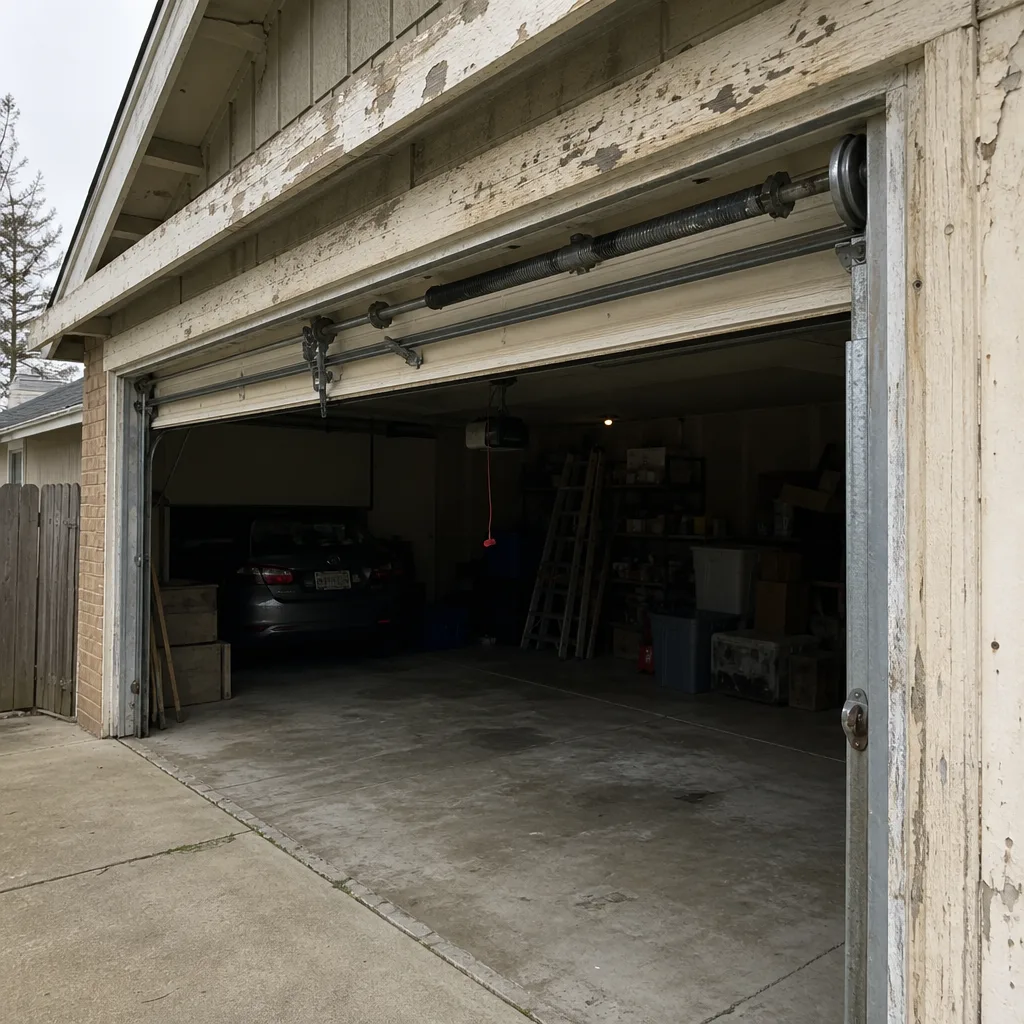 Before
 After
After