
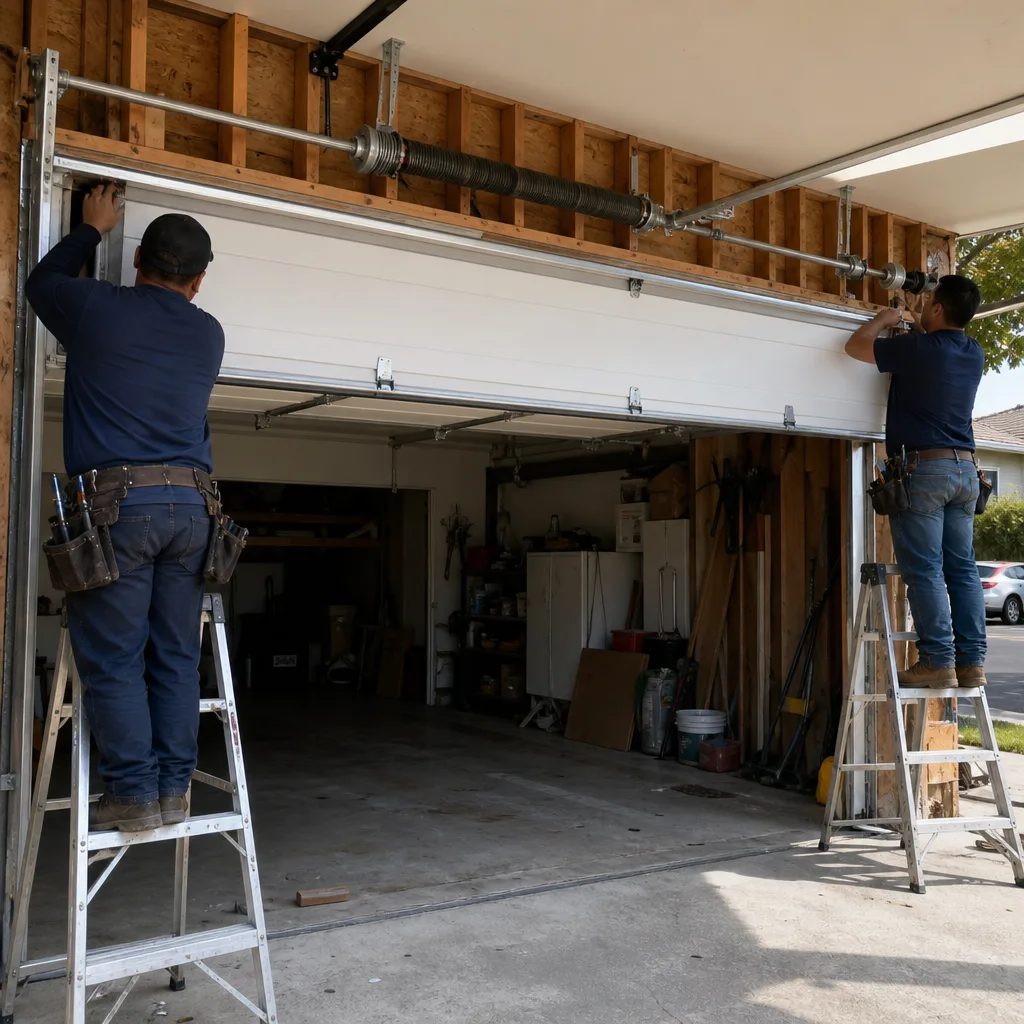
Last updated October 16, 2026
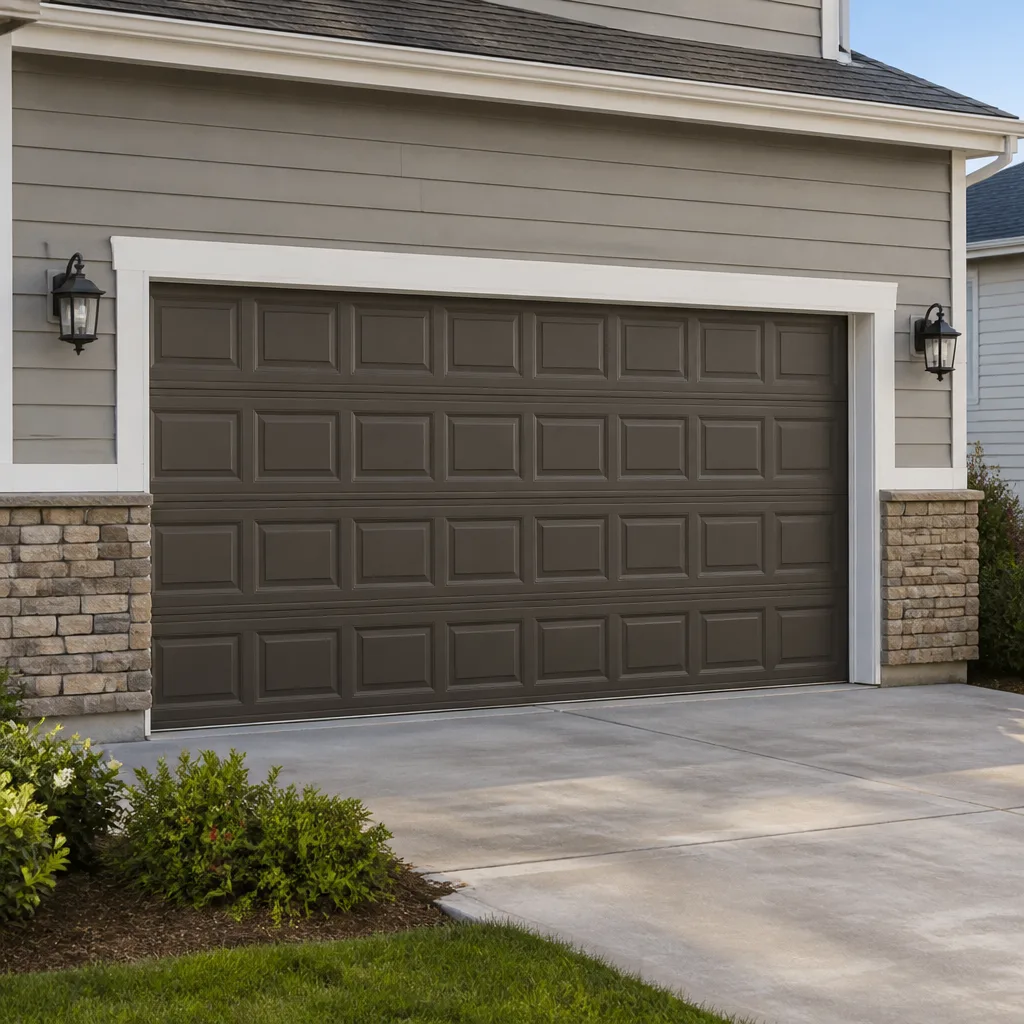 Raised-panel steel
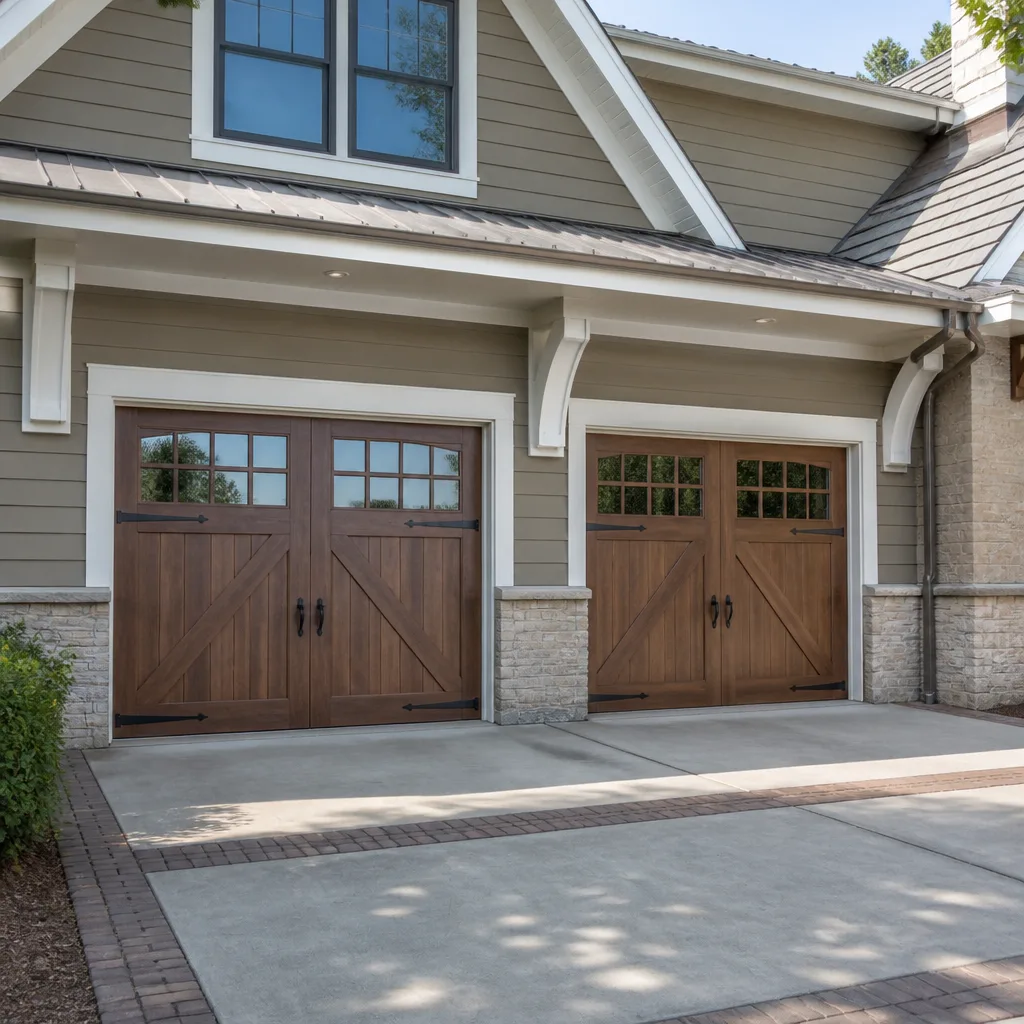 Carriage house
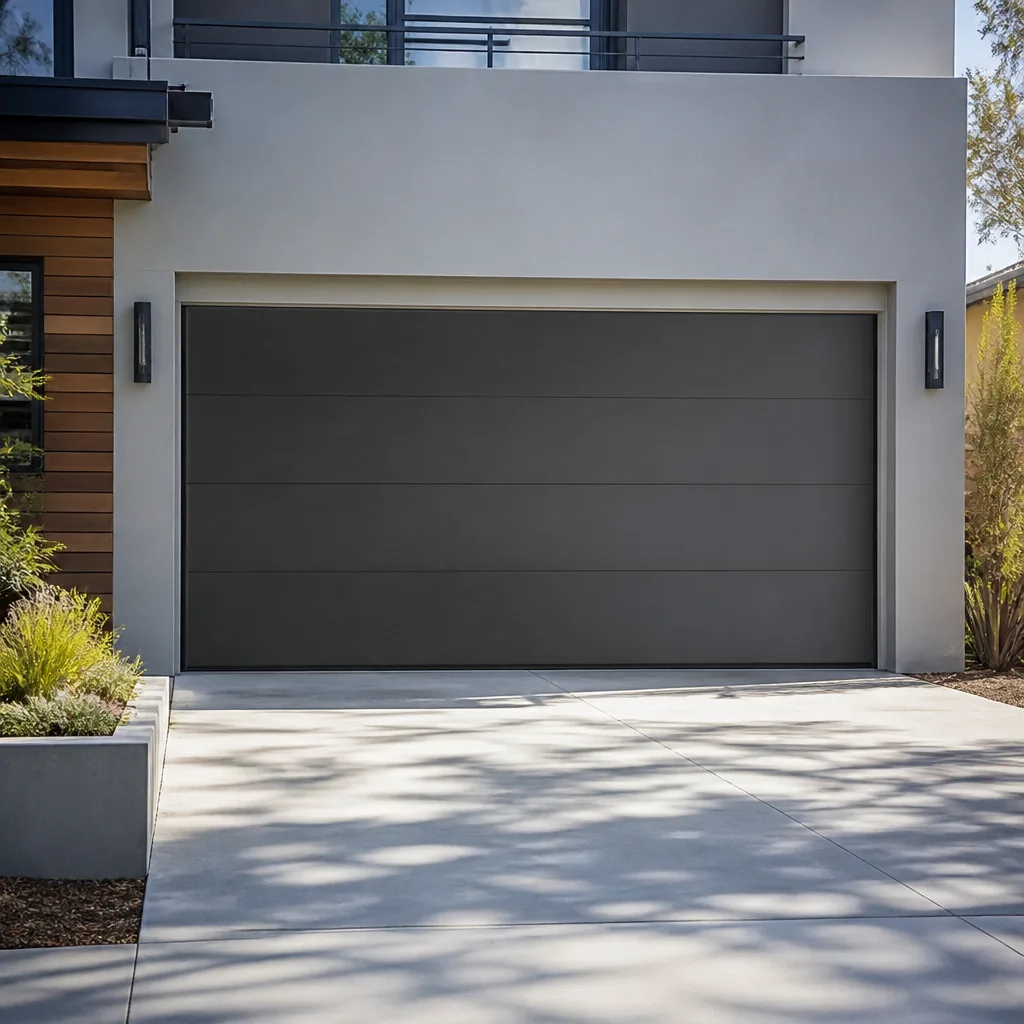 Modern flush
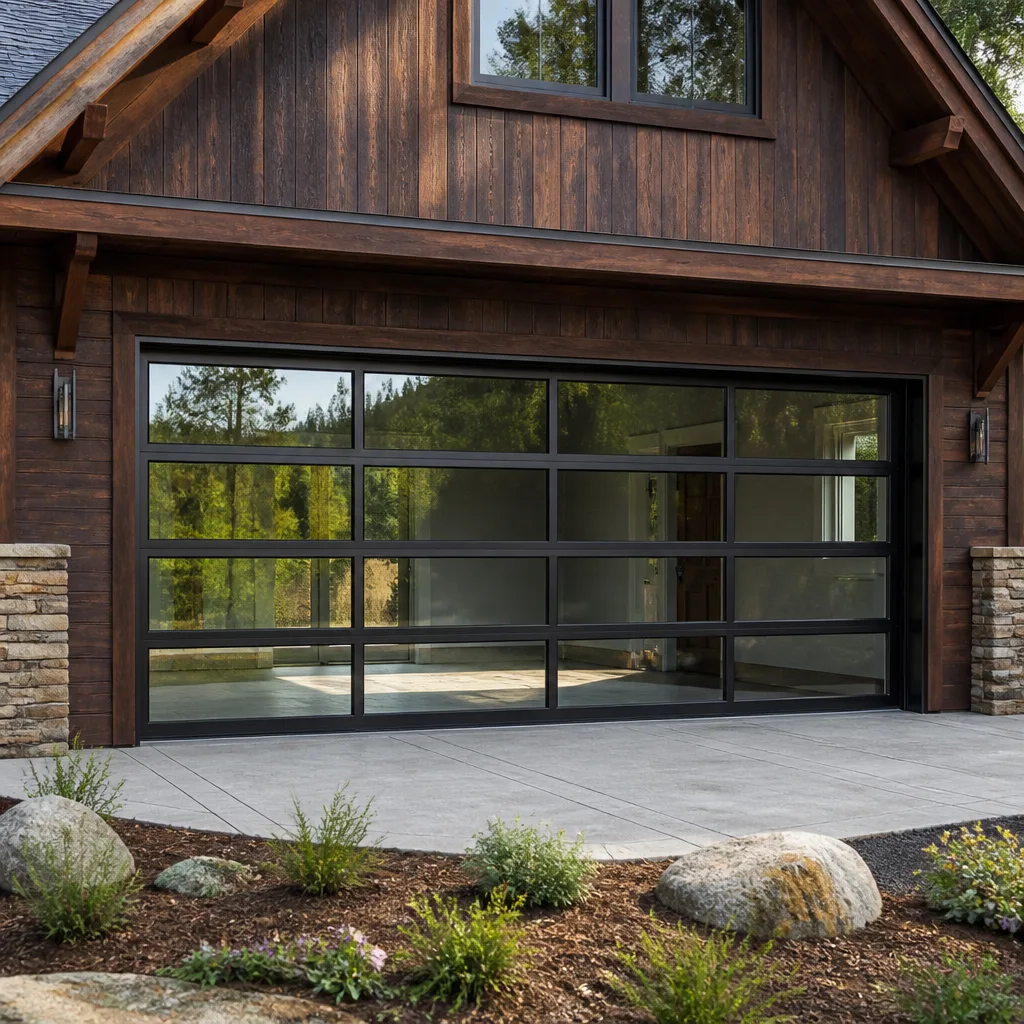 Full-view glass
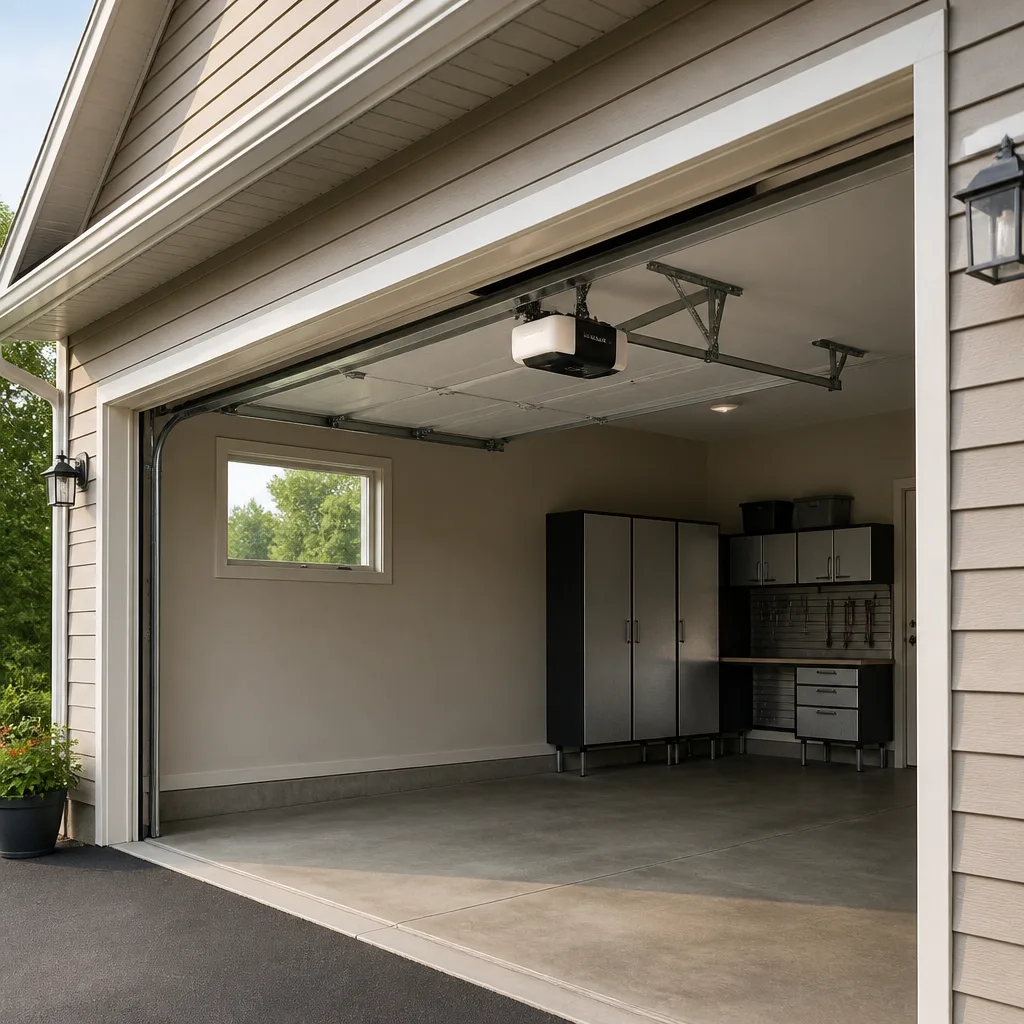 LiftMaster openers
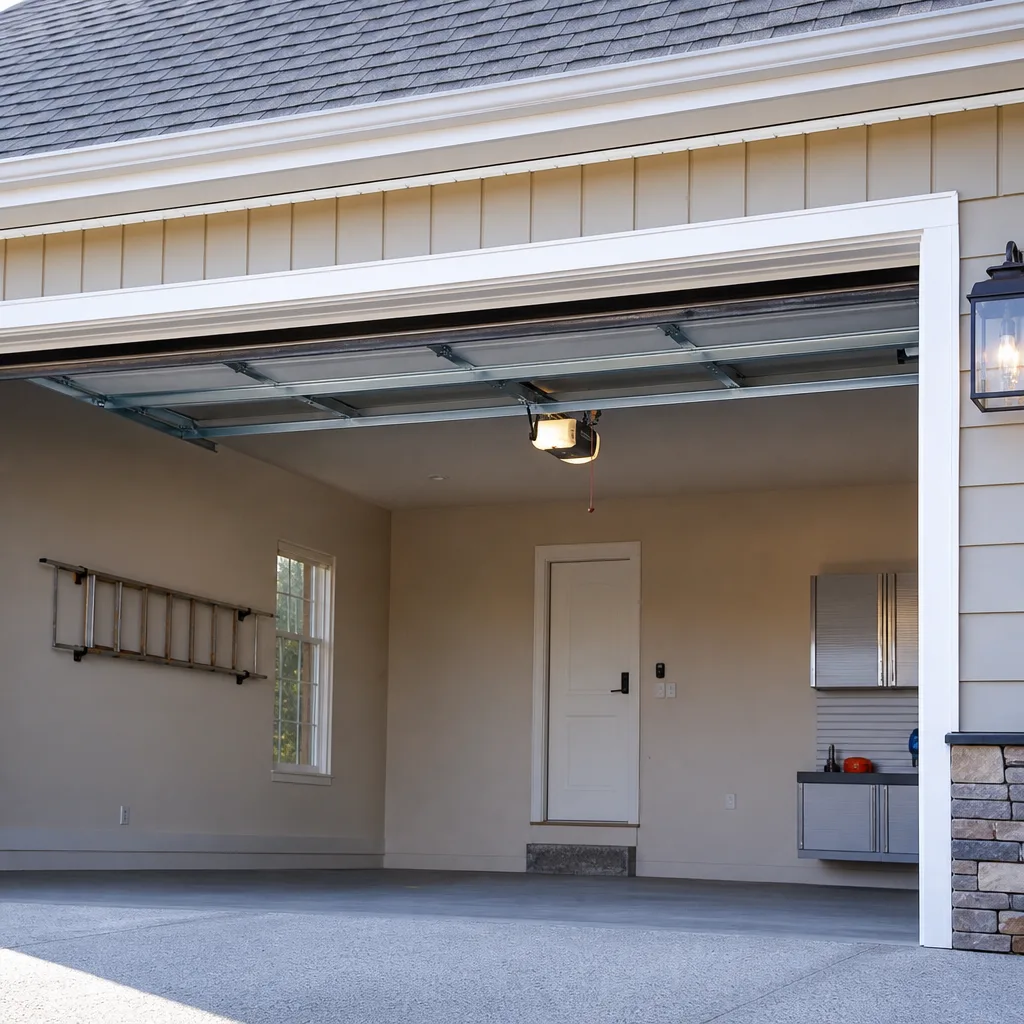 Chamberlain openers
Full 25-point door and opener safety check with every visit - springs, cables, rollers, tracks, and your LiftMaster or Chamberlain opener included
You get a price before we start. It does not change when the truck arrives.
Get your free estimateGarage Door Repair Maintenance Checklist for San Jose Homeowners
Lubricating the wrong garage door parts, specifically the tracks, is one of the most common homeowner mistakes we see in San Jose, and it actively causes the misalignment it’s supposed to prevent. Grease on the tracks attracts dust and grit from our dry foothill summers, creating a grinding paste that throws rollers out of alignment within weeks. This guide ties every maintenance step to the specific failure it prevents, so you’ll know what you’re actually looking for, what you can safely handle yourself, and when to stop and call a Garage Door Repair technician before a $40 fix becomes a $400 repair.
Styles & brands we work with
Quick Answer
A garage door maintenance checklist for San Jose homeowners should cover monthly visual inspections of rollers, hinges, and cables; quarterly lubrication of rollers and hinges only (never the tracks); a monthly balance test; and seasonal weather stripping checks before the Bay Area’s October – November fog settles in. Anything involving torsion springs, cables, or opener limit switches is not DIY work. That’s where a professional comes in, though you can find How to Hire a Garage Door Contractor in San Jose: A Step-by-Step Guide if you need help choosing one.
Table of Contents
- Why a Maintenance Checklist Matters in San Jose
- Safety First: What You Should Never Touch
- The Monthly Visual Inspection Checklist
- The Correct Lubrication Guide: What to Use, What to Skip
- How to Run a Balance Test (And What It Tells You)
- The San Jose Timing Guide: When to Do What
- The Decision Tree: Fix It Yourself or Call?
- Common Mistakes to Avoid
- When to Call a Professional
- Frequently Asked Questions
- The Bottom Line
Why a Maintenance Checklist Matters in San Jose
San Jose’s climate is harder on garage doors than most homeowners realize. We get maybe 17 inches of rain a year, but the real culprit is the temperature swing. A garage door in Almaden Valley or Willow Glen can see a 40-degree difference between a cold winter morning and a warm afternoon. Metal expands and contracts. Springs lose a fraction of their tension. Weather stripping dries out and cracks in our long, rainless summers, then lets moisture in when the first atmospheric river arrives in November.
Most garage door failures don’t happen suddenly. They build. A roller starts wobbling months before it locks up. A spring develops a hairline crack weeks before it snaps and drops a 150-pound door onto whatever is underneath it. A chain gets slack long before it jumps the sprocket and leaves you parked outside at 7 a.m. on a workday.
That’s the point of a checklist. It catches problems before they become emergencies. And it helps you understand what you’re looking at. A homeowner who knows the difference between a worn roller and a failing bearing won’t waste money on the wrong fix. That’s what we aim for here at Bramwell Garage Doors San Jose home. We want you to understand your door well enough to make smart decisions about it.
Think of this guide as a conversation between a homeowner and a technician who’s seen every failure mode San Jose can throw at a garage door, and check our blog for more guides & resources when you’re done. We’re not going to tell you to do things that put you at risk. We’re not going to pad the list with busywork. Each step exists because it prevents a specific, real failure we’ve seen happen in homes across San Jose.
Safety First: What You Should Never Touch
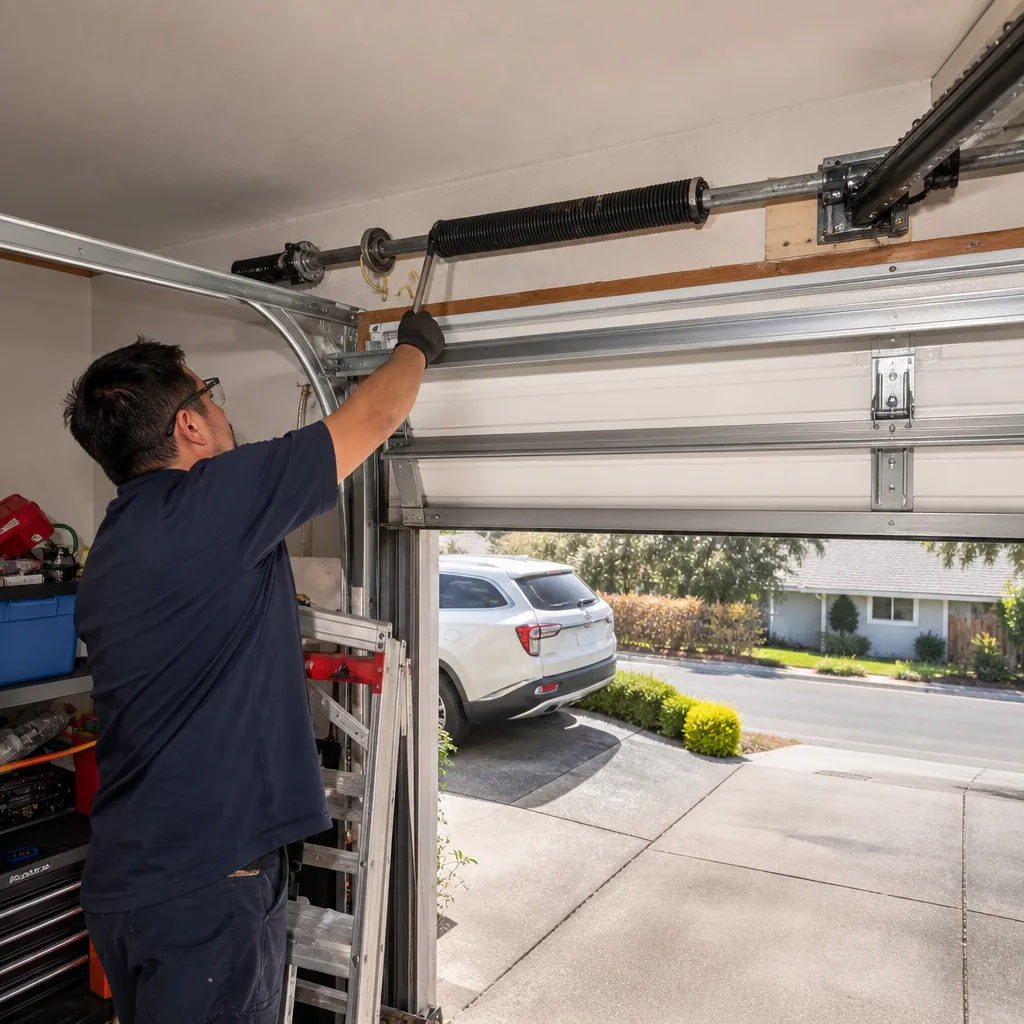
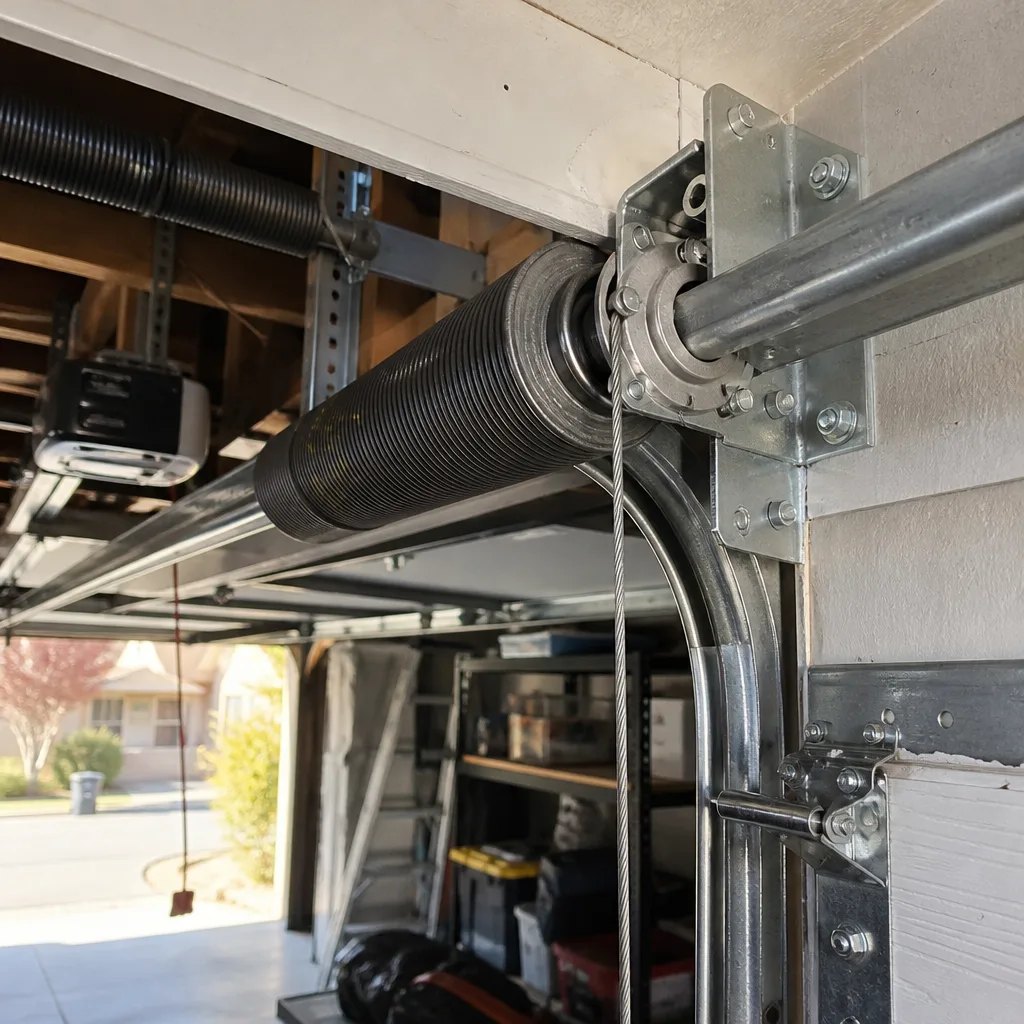
Before we get to the checklist, let’s draw a clear line. A garage door is the heaviest moving object in most homes. The torsion spring, that heavy coil mounted above the door, handles most of the lifting weight. It stores an enormous amount of mechanical energy. When a torsion spring snaps, it sounds like a gunshot. When a homeowner tries to adjust one without training, the injuries are severe: crushed fingers, broken wrists, lacerations from flying cable, even worse.
Here’s the rule: if a task involves the spring, the cables, or the opener’s internal electronics, it’s a technician’s job. Specifically, never attempt these yourself:
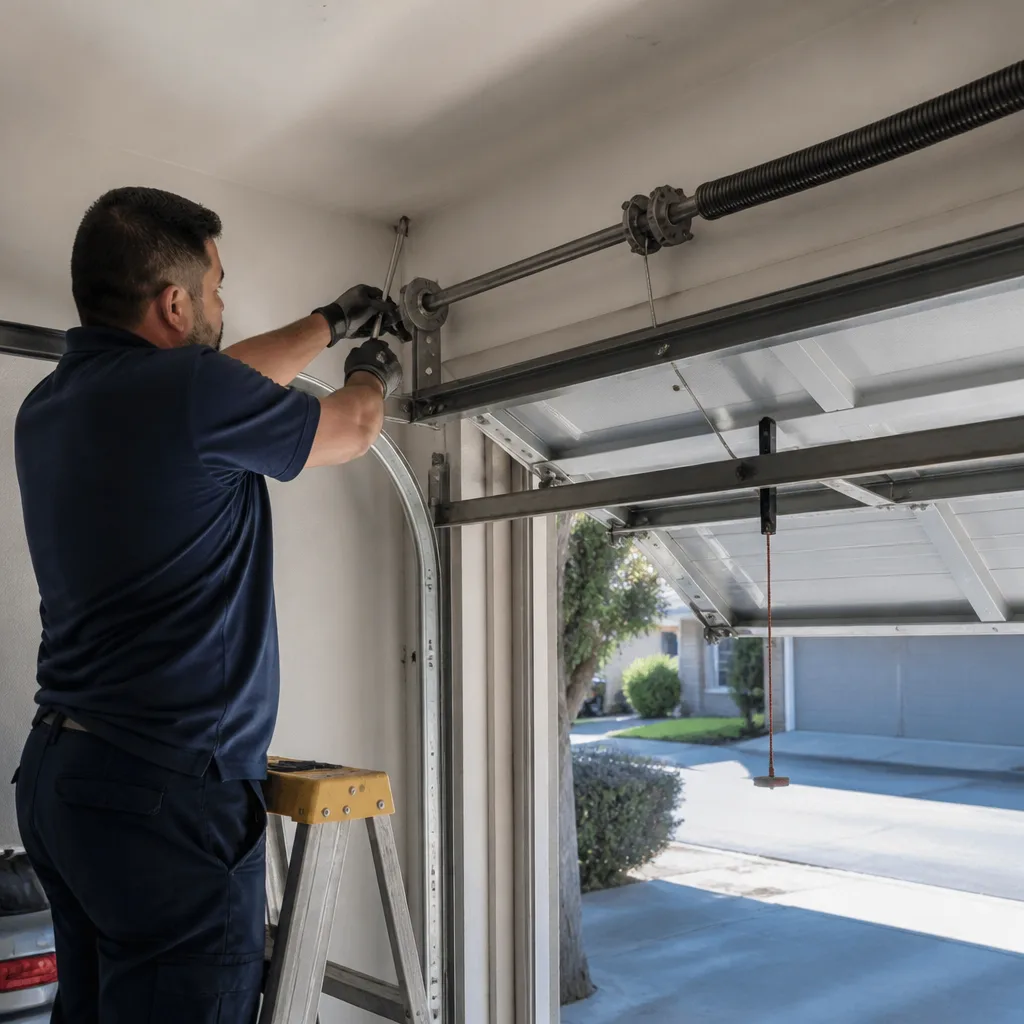
- Torsion spring adjustment or replacement: The spring is wound under extreme tension. Releasing it incorrectly can be lethal. Most torsion spring replacements in San Jose run $150 – $280, parts and labor included. That’s a fraction of an emergency room bill, and the repair is done in about an hour by a pro.
- Cable re-winding or replacement: Cables are under the same tension as the spring. A frayed cable can slice through gloves and skin when it snaps. If you see a frayed cable, stop using the door and call a technician.
- Limit switch adjustment on the opener: The limit switch tells the opener where “up” and “down” are. Setting it wrong can cause the door to crush objects in its path or reverse at random heights. This is an opener repair, not a maintenance task.
- Track re-alignment: If the track is visibly bent or the door is binding, the fix usually involves spring tension adjustments and structural work. Spraying lubricant on a misaligned track makes it worse, as we’ll explain below.
You can absolutely do the visual inspection, the lubrication, the balance test, and the weather stripping checks we describe below. Those tasks require no special tools and no exposure to dangerous moving parts. But when the checklist finds something broken, know your limit.
If you’re ever unsure, a Garage Door Repair in San Jose from a qualified technician is always safer than guessing. We’ve seen too many homeowners turn a minor problem into a major one by “just trying something.”
The Monthly Visual Inspection Checklist
This is the foundation. It takes five minutes and requires nothing but your eyes and maybe a flashlight. Run through it once a month, ideally on a Saturday morning when you have daylight and a few spare minutes.
Stand inside the garage with the door closed. Work your way from left to right, top to bottom.
Step 1: The Rollers
Look at each roller where it rides in the track. There are typically eight to twelve of them, depending on door height. You’re looking for three things: cracks in the roller material, flat spots from wear, and wobble. A good roller spins smoothly and sits squarely in the track. A worn roller rattles, has visible flat spots, or leans to one side.
Why this matters: A cracked or flat-spotted roller drags instead of rolls. That drag puts uneven load on the opener motor and can pull the door out of alignment. In San Jose’s dusty conditions, a degraded roller also sheds debris that compounds the problem. Steel rollers with worn bearings are the most common culprit for noisy doors we see in neighborhoods like Cambrian and Berryessa.
Step 2: The Hinges
Hinges connect the door panels and allow the door to curve as it goes up and down. Look for cracks in the hinge plates, loose bolts, and any gap forming between the hinge and the panel itself. Give each hinge a light wiggle with your hand (door closed, opener disengaged). It should feel solid.
Why this matters: A hairline crack in a hinge becomes a full break, and a broken hinge lets the panel sag. A sagging panel then scrapes against the door frame or stresses the adjacent hinges. In San Jose’s older homes, many from the 1960s and ’70s, hinges are often original equipment. Metal fatigue is real.
Step 3: The Cables
The cables run along both sides of the door, connecting the bottom brackets to the spring system. Look for frayed strands, rust, kinks, or a cable that appears loose rather than taut. Do not touch the cables. Look only.
Why this matters: Cables hold the tension. A frayed cable is weeks, sometimes days, from snapping. When a cable snaps, the door can drop suddenly on one side, twisting the entire assembly. That’s a dangerous failure, and it’s exactly the kind of thing this inspection is meant to catch before someone gets hurt.
Step 4: The Tracks
Check that both vertical tracks are straight and that the horizontal tracks are level. Look for gaps between the track and the wall, bent sections, and any accumulation of built-up grease or debris.
Why this matters: Tracks need to be clean, dry, and straight. Grease on tracks is a self-inflicted problem we see constantly in San Jose, especially in areas where homeowners do their own maintenance based on outdated advice. If your tracks are greasy, wipe them down with a dry rag. Don’t add more.
Step 5: The Bottom Seal and Weather Stripping
Look at the rubber strip along the bottom of the door and the weather stripping on the sides and top of the frame. You’re checking for cracks, tears, compression (flattened spots that no longer spring back), and gaps where daylight shows through.
Why this matters: San Jose doesn’t get snow, but we get winter rain and fog, and a failed seal lets water, dust, and small pests in. A compromised bottom seal also lets heat escape in summer, which matters if you’ve got a converted garage or workshop space.
The Correct Lubrication Guide: What to Use, What to Skip
This is where most San Jose homeowners go wrong. The advice floating around neighborhoods and online is often decades old, and it causes real problems. Let’s set the record straight with specifics.
The golden rule: lubricate the rollers and hinges. Do not lubricate the tracks. Ever.
Tracks are not supposed to be slippery. A garage door rides on its rollers, which turn against the track surface. The track is a guide, not a bearing. When you grease the track, you do two harmful things. First, you create a surface that attracts dust. San Jose’s dry summers generate plenty of fine dust, and it only takes weeks for greased tracks to collect enough grit to act like sandpaper. Second, you create a sliding film on a surface that was designed for rolling contact. That changes the physics of the door’s movement and can cause the rollers to skate instead of roll, which accelerates wear and can pull the door slightly out of square.
The correct lubricant for rollers and hinges: Use a white lithium grease for metal-to-metal contact points. Spray a small amount on the roller bearings (the parts that spin) and the hinge pivot pins. Wipe any excess with a rag. You want a thin film, not a dripping coat.
What about the spring? You can lightly spray a silicone-based lubricant on the torsion spring to prevent rust, but this is optional. The spring doesn’t need lubrication to function; it’s a coil that operates by torsion, not friction. If you do spray it, use silicone spray, not grease. Grease on a spring collects dust and can hide cracks that inspection should catch. In fact, a clean spring is easier to inspect, which may be a better reason to leave it alone.
What about the chain on the opener? Chain-drive openers (common on Genie and older Chamberlain units) benefit from a light application of a white lithium grease along the chain once a year. Belt-drive openers (increasingly common on newer installations) require no lubrication, as the belt is reinforced rubber or polyurethane. If you have a screw-drive opener, use a specific screw-drive lubricant, not a general grease.
What not to lubricate: Tracks, as covered. Also skip the hinges if they’re the nylon-bushing type (check your door manual), and never lubricate the opener’s internal gears unless you’re doing an opener repair. The rule of thumb is simple: if it rolls, light lube. If it slides, leave it clean and dry.
How to Run a Balance Test (And What It Tells You)
The balance test is the single most informative maintenance check you can do at home. It tells you whether your springs are doing their job. And spring health is the single biggest predictor of whether your door will open tomorrow morning.
Here’s the procedure, step by step:
- Close the garage door completely.
- Pull the red emergency release handle on the opener. This disengages the opener from the door, so you’re testing the door itself, not the motor.
- Lift the door manually by its handle or bottom rail. It should lift smoothly with moderate effort and stay where you put it.
- Lift it to about waist height and let go.
- Watch what happens.
What the door’s behavior tells you:
- Door stays at waist height: Your springs are correctly tensioned. The door is balanced. Reconnect the opener and you’re done.
- Door drops to the floor: Your springs are under-tensioned or worn. They’re no longer counterbalancing the weight of the door. This means the opener is working harder than it should every single cycle, and the springs are nearing the end of their life. A door that fails this test needs professional attention. Spring repair is not a DIY task.
- Door rises on its own: The springs are over-tensioned. This is less common but dangerous, because an over-tensioned door can fly up and leave the track. Call a technician to re-balance the spring.
- Door jerks or binds halfway up: You likely have a track alignment issue, a broken roller, or debris in the track. Stop and inspect before using the opener.
Run the balance test every month. In San Jose, where temperature swings are constant, spring tension shifts slightly with the seasons. A door that passes in July might fail in December. If your door fails the balance test, stop using the opener and call for a Garage Door Spring Repair in San Jose.
Most torsion spring replacements in the San Jose market run $150 – $280, including parts and labor. It’s a same-day fix for a qualified technician, and it’s worth every penny when you consider that a snapped spring can drop a door with several hundred pounds of force.
The San Jose Timing Guide: When to Do What
San Jose has a Mediterranean climate with dry summers and wet winters, but the maintenance calendar doesn’t line up neatly with the weather. Here’s the timing we recommend based on what we see in the field across San Jose.
October – November: Before Fog Season
The Bay Area’s fog season settles in during late fall, and that’s when moisture starts reaching your garage. This is the critical window to check bottom seals and weather stripping. A seal that looked fine in September can show cracks by November once the air gets damp and temperatures drop.
Why this window matters in San Jose specifically: Our October and November bring cool, humid marine air from the coast and the first real rains. A failed bottom seal during this window means water on your garage floor, rust starting on metal components, and a colder garage for any winter projects. Replacing a bottom seal is cheap, usually $15 – $40 in materials, and takes a homeowner about 20 minutes. Checking it now avoids all of that.
March – April: Post-Rain Inspection
Once the winter rains taper off, give the full door a once-over. Look for rust on hinges and tracks, check that the balance is still within spec, and lubricate anything that’s dried out. San Jose’s rainy season is short but intense, and standing moisture can cause surface rust even on galvanized parts.
Monthly, Year-Round
The visual inspection and balance test we described above should happen every month, regardless of season. It takes five minutes, and it’s the difference between catching a cracked roller early and dealing with a door that refuses to open on a Monday morning.
Annually
Once a year, consider having a technician do a full tune-up. This includes things you can’t do yourself: checking spring torque, inspecting cable quality, testing the opener’s force settings and safety reverse feature, and tightening every bolt on the assembly. A professional tune-up in San Jose typically runs under $100 and includes adjustments that would take a homeowner hours to figure out.
The Decision Tree: Fix It Yourself or Call?
This is the section that separates a useful checklist from a dangerous one. Every homeowner should know exactly when a problem crosses from “weekend project” into “call a pro today” territory.
Use this decision tree when your inspection finds something wrong:
- Is the problem a worn roller, a loose hinge bolt, or a cracked bottom seal? Yes: This is DIY territory. You can replace a roller (use a $10 – $15 replacement, not the cheapest one), tighten a bolt, or replace a bottom seal with basic tools. No: Go to step 2.
- Is the problem related to the torsion spring, the cables, or the track alignment? Yes: Stop. Do not attempt this repair. Spring and cable work is extremely dangerous without training. Track alignment requires spring tension adjustments. Call a technician. No: Go to step 3.
- Is the problem with the opener motor, the limit switch, or the safety sensors? Yes: Some sensor realignment can be done at home (clean the lenses, check alignment). But motor and limit switch issues require a service call. No: Go to step 4.
- Did the door fail the balance test? Yes: Call a technician. The springs need adjustment or replacement, and this is not negotiable. No: Continue with your regular maintenance.
We’ve seen every step of this tree play out in San Jose homes. The homeowners who call early pay less. The ones who wait until the door crashes down in the driveway pay more, and sometimes they’re also dealing with a damaged car or a broken garage door panel on top of the spring repair.
If you’ve found something that falls into the “call” category, the Garage Door Installation in San Jose team can help. We’ll give you a written price before any work starts, so you know exactly what you’re spending.
Common Mistakes to Avoid
- Lubricating the tracks. We’ve covered this, but it bears repeating. Greasy tracks attract dust and grit in San Jose’s dry climate, and that grit becomes an abrasive paste that accelerates wear and causes misalignment. Tracks should be clean and dry, always.
- Using WD-40 as a lubricant for everything. WD-40 is a solvent and water displacer, not a lasting lubricant. It’s great for freeing a stuck part, but it won’t protect moving metal the way white lithium grease will. For rollers and hinges, use the right product.
- Ignoring a noisy door. A noisy door is not “just being loud.” Grinding, squealing, or rattling is a symptom. Grinding often means a roller is failing. Squealing often means a hinge is dry and wearing. Rattling usually means loose hardware. Each noise has a cause, and putting off the cause makes the repair bigger.
- Running the opener with a disconnected door. If you’ve pulled the red emergency release, don’t press the opener button. The opener will run without moving the door, and that’s a quick way to damage the gear or sprocket. The garage door won’t open without the opener engaged, but running the motor anyway is self-inflicted damage.
- Replacing only one spring when both are worn. Garage doors with two springs wear them fairly evenly. If one has snapped, the other is usually not far behind. Replacing both at once costs a bit more upfront but avoids a second service call six months later. This is standard practice among good technicians in San Jose.
- Skipping the balance test because “the door still opens.” The opener can mask spring failure because the motor compensates for a door that’s getting heavy. By the time the door stops opening, the springs have been failing for months and the opener has been overworked the whole time. The balance test catches it early.
- Letting a small rust spot go. In San Jose’s winter damp, a small patch of rust on a hinge or track becomes a structural issue faster than you’d think. Treat surface rust with a wire brush and a rust-inhibiting primer before it spreads.
When to Call a Professional
You’ve read through this guide and run your inspection. Here’s the short list of situations that mean you should put down the toolbox and pick up the phone.
Call a technician if you see a frayed cable, a cracked or snapped spring, visible track damage, or a door that fails the balance test. Same if your opener is reversing at the wrong point, grinding internally, or refusing to respond to the wall button or remote. Those are safety and security issues, not just inconvenience.
Bramwell Garage Doors San Jose offers free estimates throughout the San Jose area. We’ll come out, assess the problem, and give you a written price before any work begins. Call (669) 444-4253.
Frequently Asked Questions
A monthly visual inspection plus balance test is the right cadence for San Jose homes, with additional attention to weather stripping in October and November before the rainy season starts. Annual professional tune-ups catch what homeowner inspections miss.
You can safely perform visual inspections, lubricate rollers and hinges (with white lithium grease on the bearings and pivot points), run the balance test, and replace bottom seals and weather stripping. Anything involving the torsion spring, cables, or opener internals should go to a licensed technician.
No. Tracks should remain clean and dry. Lubricating them attracts dust and causes the very misalignment and grinding you’re trying to prevent. If your door is noisy, the cause is usually the rollers or hinges, not the tracks.
Run the balance test: disconnect the opener, lift the door to waist height, and release it. If the door drops, your springs are under-tensioned and nearing replacement. A door that stays put has springs in good condition. If you suspect spring issues, call (669) 444-4253 for an assessment.
Most torsion spring replacements in San Jose run $150 – $280, including parts and labor. The exact price depends on door weight, spring type, and whether one or both springs need replacement. We always provide a written price before any work starts.
Yes. We’re authorized to service all major brands including Genie, Clopay, Amarr, Wayne Dalton, LiftMaster, Chamberlain, and Craftsman. If you know your door’s brand, that helps us bring the right parts on the first visit.
The Bottom Line
Garage door maintenance in San Jose is about paying attention before small problems become expensive ones. Run the monthly inspection, lubricate only the right parts, test the balance, and check your seals before the fog season hits. Never touch the spring or cables, and don’t be a hero when the decision tree says call. A well-maintained garage door lasts years longer, runs quieter, and keeps your home secure. If you find something during your checklist that falls outside the DIY zone, Bramwell Garage Doors San Jose is one call away at (669) 444-4253.
Written by Marcus Ellery, Owner at Bramwell Garage Doors San Jose, serving San Jose since 2001.
See the difference
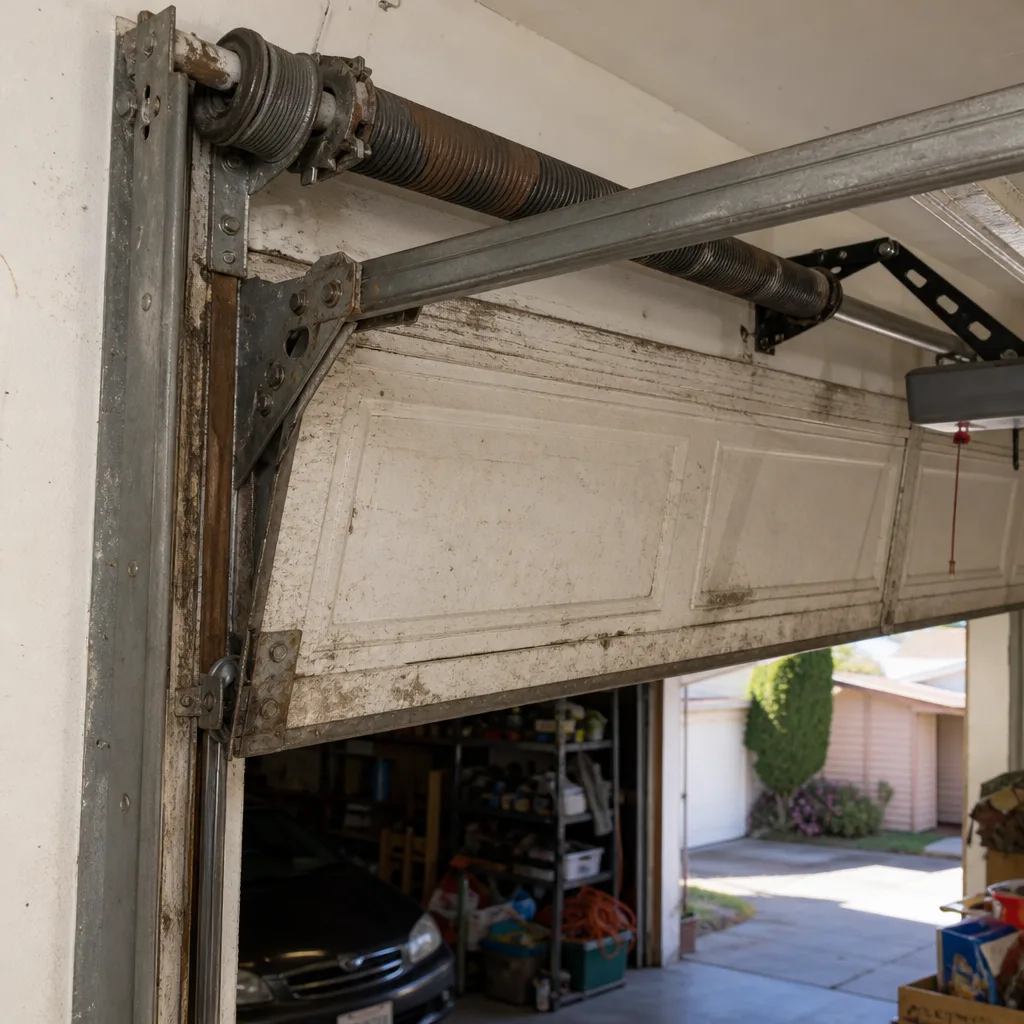 Before
 After
After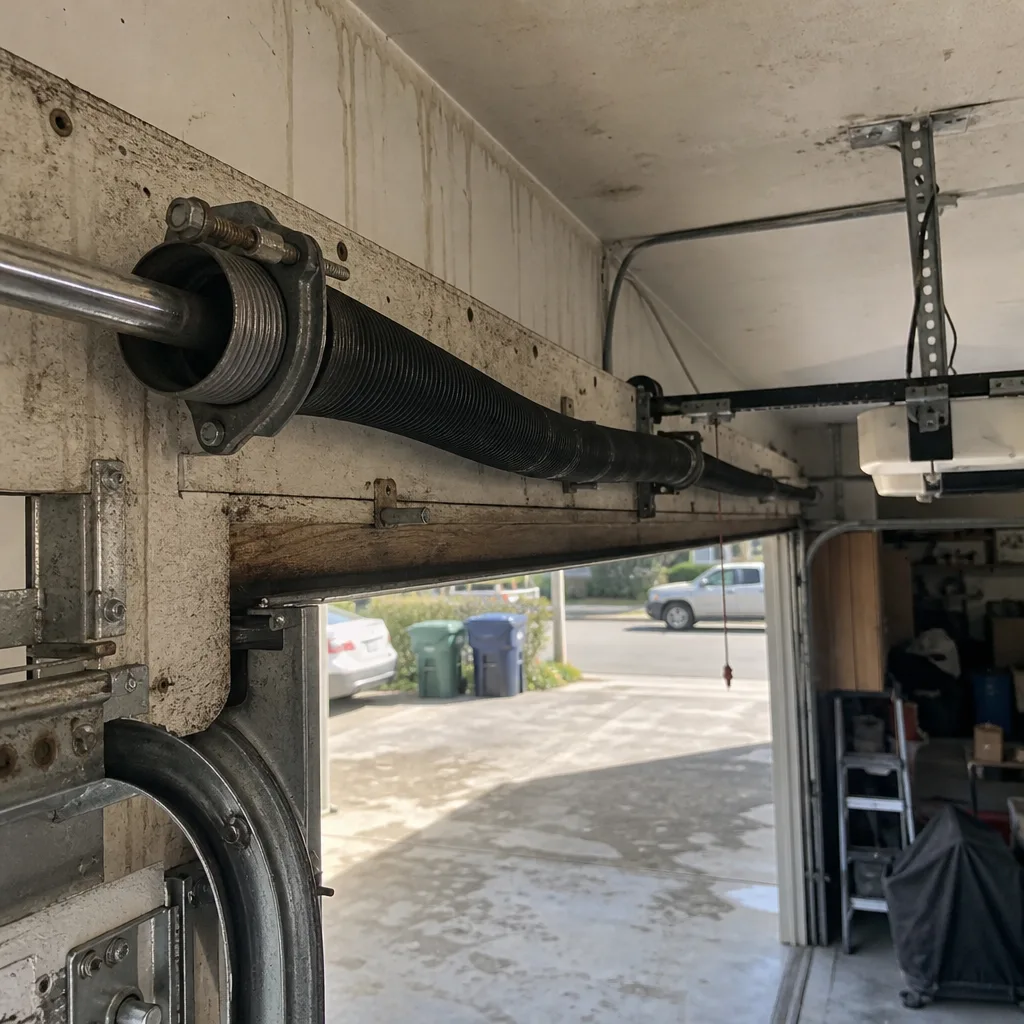 Before
 After
After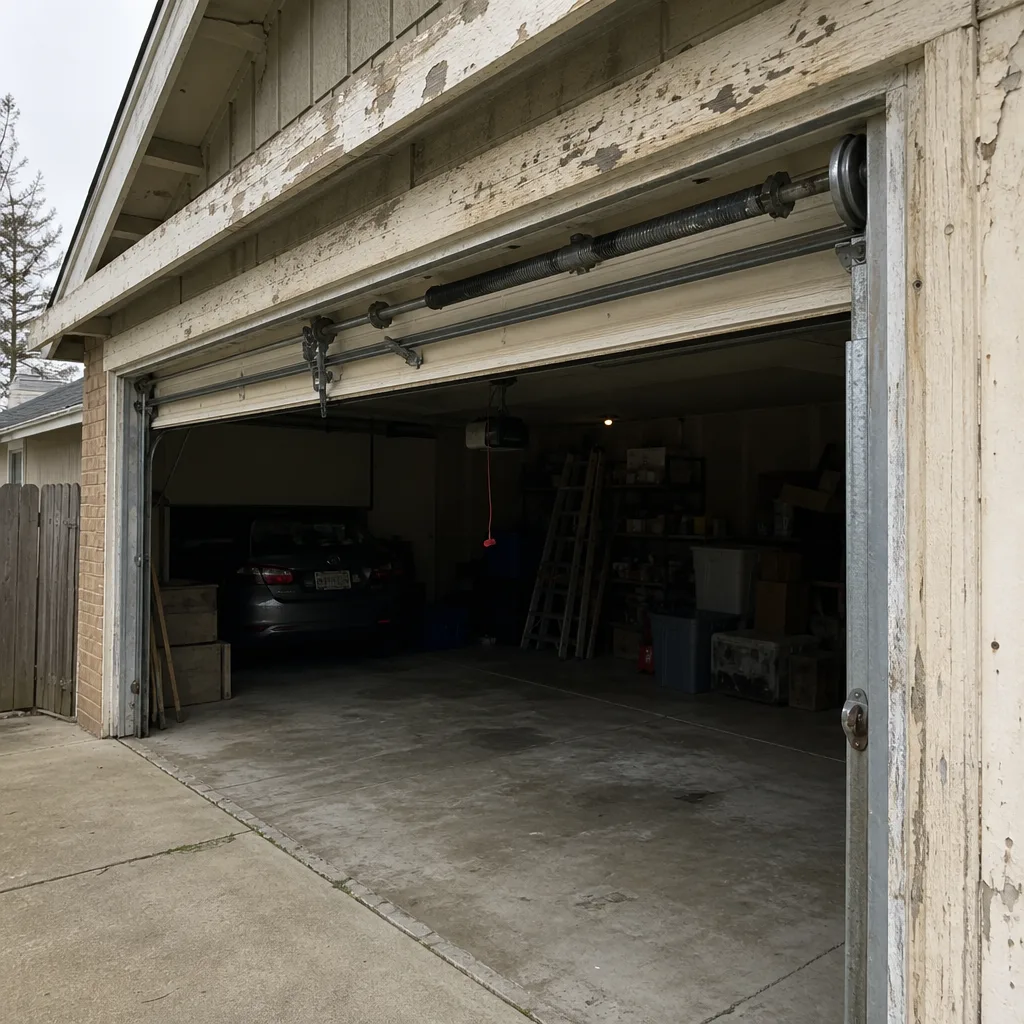 Before
 After
After